Room to Breathe red stencil typography

Room to Breathe red stencil typography
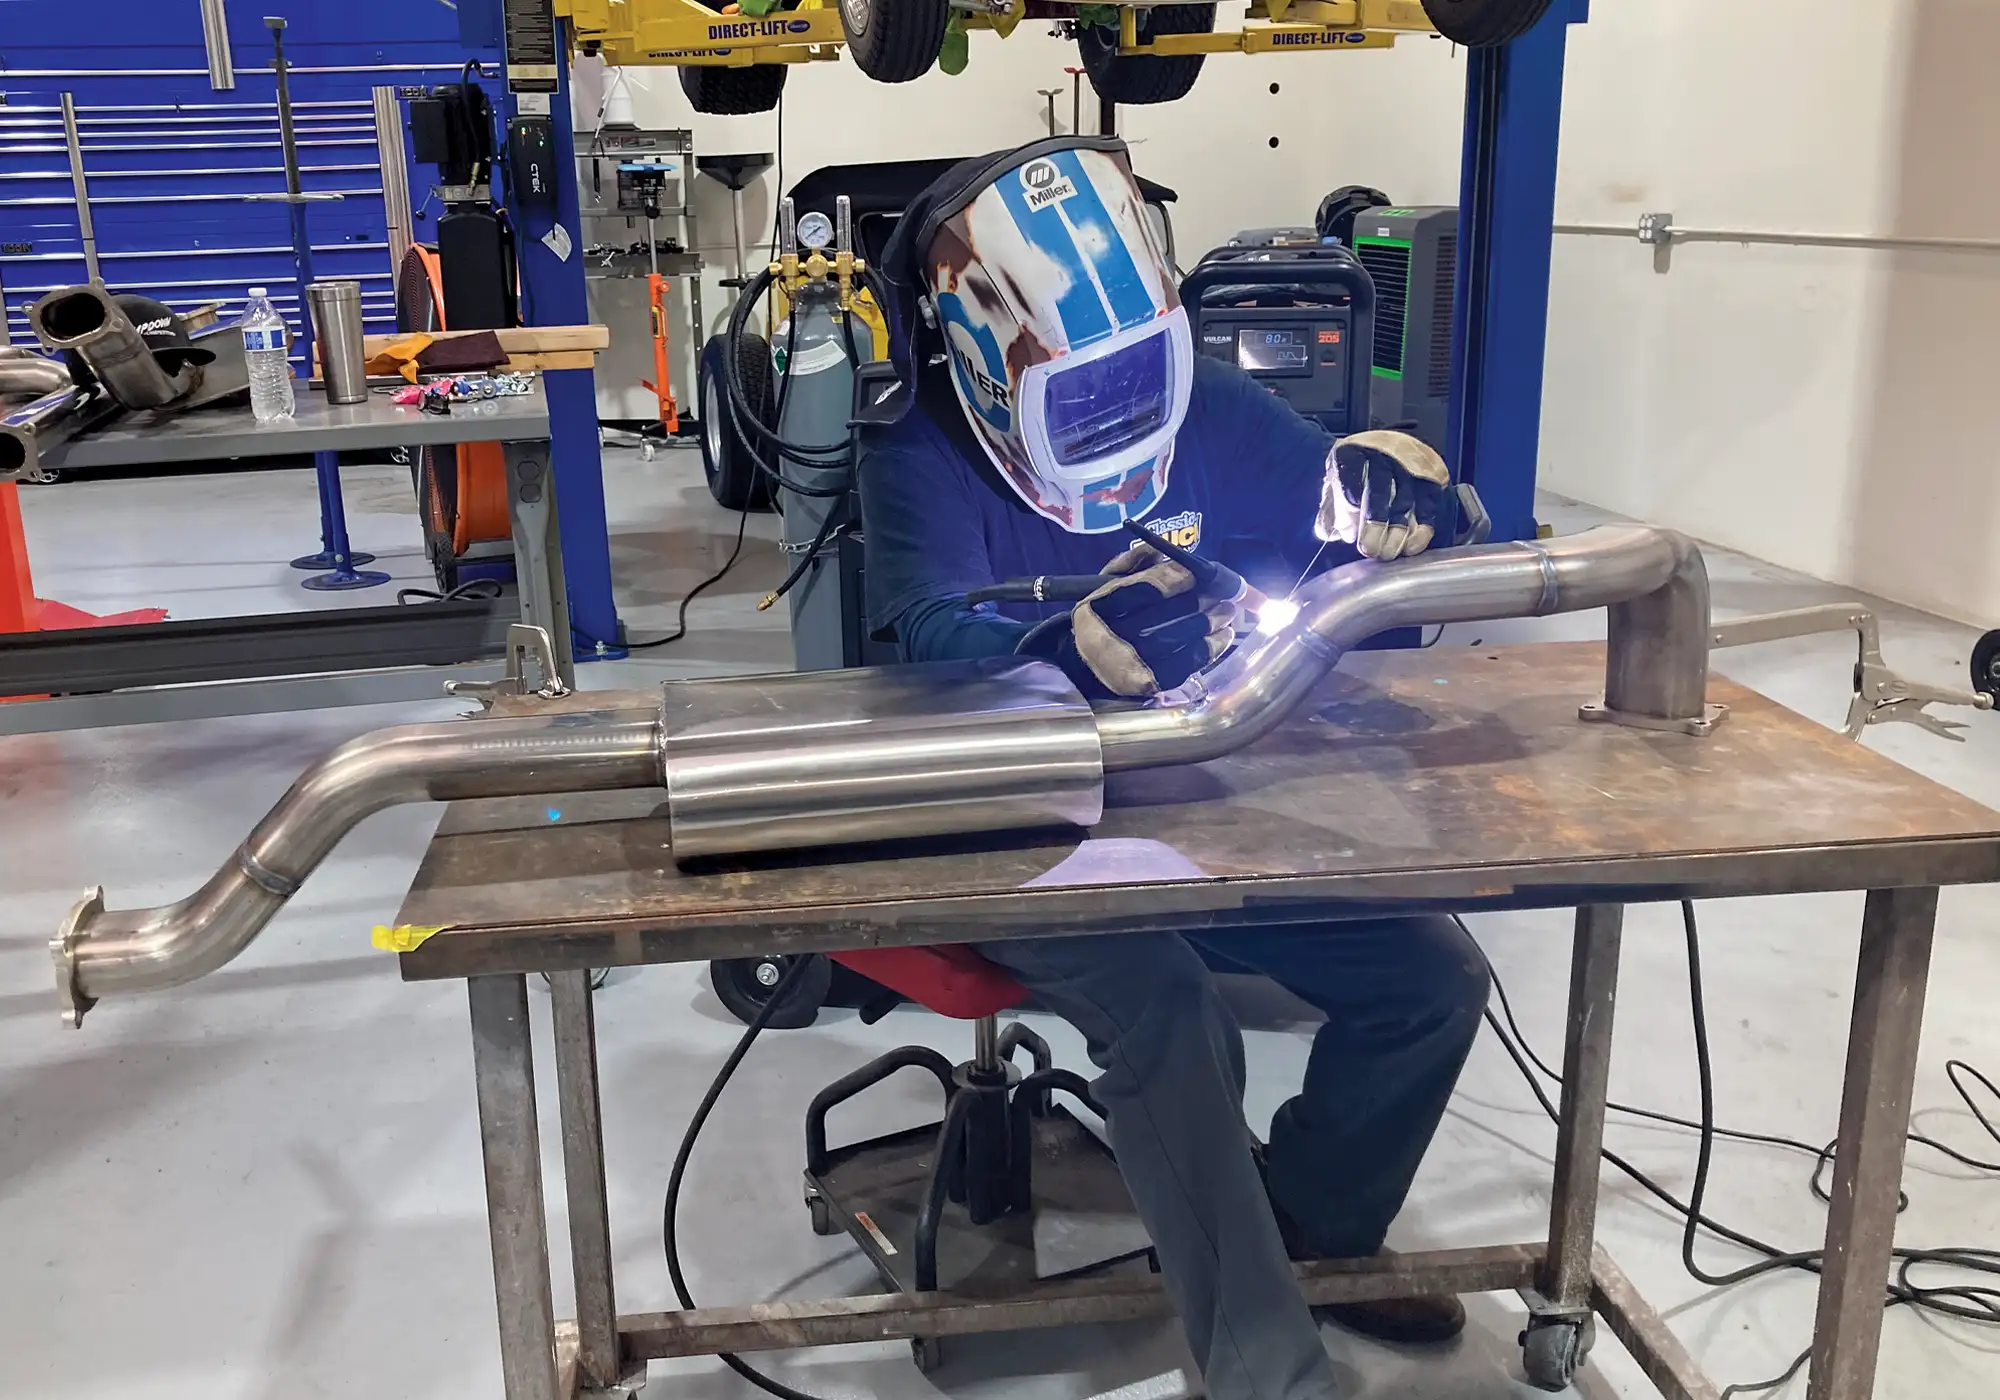
a mechanic wearing a helmet and gloves sits at a steel work bench in a car shop, welding an exhaust pipe
Part 2: Rounding Out an Oval Exhaust
BY Ryan MansonImages by THE AUTHOR
W

hen it comes time to tackle the exhaust system of your classic truck build, you’ll no doubt be presented a handful of options. In the past, most simply took their truck down to the local muffler shop for a traditional dual exhaust install. Today, a myriad of bolt-on exhaust kits can be ordered for some of the more popular models and engine configurations, making it possible for the DIYer to exhaust themselves in the comfort of their own home. For the ultimate custom applications, however, a fully fabricated stainless steel exhaust is the pinnacle of both performance and aesthetic.

After plumbing the chassis of our project 1964 Chevy C10, we turned our attention to the exhaust, or lack thereof. We thought briefly about purchasing an over-the-counter, bolt-on kit, but quickly realized that our chassis had a few too many modifications, namely in the rear, that would make a bolt-on effort more of a challenge than a convenience. We knew we wanted to use stainless steel as the material and we wanted a system that would allow the LS engine to breathe easily if we decided to go with a forced induction system in the future. A full 3-inch system would be great, but there were a few areas where routing that large tubing might prove problematic. That’s when a conversation with our buddy Joey Granatelli lit a spark. It just so happened that his company, Granatelli Motor Sports, offers a line of stainless steel exhaust components, not in round tubing but oval. This ticked both of our boxes on our list of “must-haves” as well as solving our fitment issue when it came to the larger, 3-inch-diameter tubing.

Granatelli Motor Sports’ oval exhaust tubing is manufactured using 304 stainless steel and measures 2.2×3.45 inches in outside diameter. Some quick cocktail napkin math tells us that the area of a 2.5-inch exhaust comes in just under 5 square inches, while the larger 3-inch version comes in at just a tick over 7. Granatelli’s oval tubing specs out at just under 6 square inches, so it’s a great compromise between size and capacity. Being constructed from 304 stainless steel gives Granatelli’s exhaust components greater corrosion resistance thanks to an increase in Chromium and Nickel content. This metallurgical makeup also results in an increase in strength and hardness, resulting in an exhaust system that should be bulletproof and remain looking great for years.

If you’ve ever fabricated a custom exhaust system before, you know how challenging it can be dodging suspension components and keeping the system away from any heat-sensitive objects. Packaging the system where the goals of performance, comfort, and reliability are met can provide a challenge, especially when muffler location is limited to a single space under the truck. Mounted under the cab might result in unwanted drone or harmonics at certain rpm, but with certain suspension setups, like a triangulated four-link or trailing arms, one’s options might be limited. That’s where traditional round tubing has a leg up on oval tubing as it’s a simple matter of rotating a bend slightly to gain a change of multiple directions in multiple planes in one move. Routing with oval tubing only allows for a single change of direction with each bend (horizontal versus vertical). But with its increase in clearance thanks to the lower height that routing challenge comes welcomed. One positive thing that we discovered during the fabrication portion of the exhaust is that keeping things symmetrical with an oval system was actually easier than traditional round tubing for the fact that direction of travel can’t change in more than one plane. A 45-degree bend to the left could be kept perfectly level if both cut surfaces are square and a little attention to detail is maintained.

While providing a welcome challenge, our Granatelli oval exhaust system looked even better than round tubing systems that we’ve done in the past and should give our LS engine plenty of room to breathe.
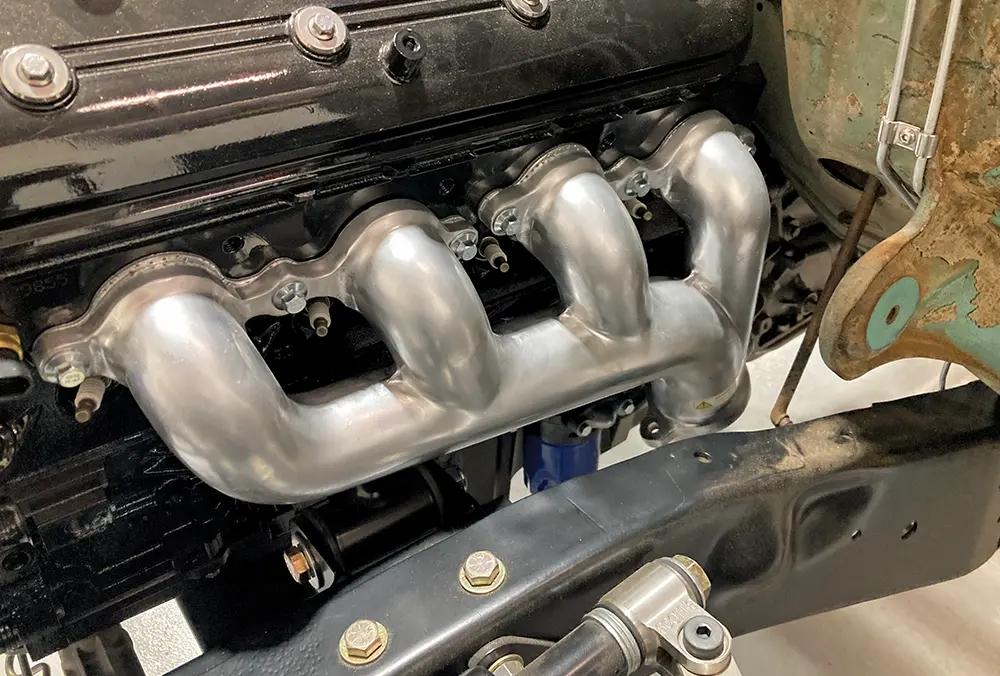
a cast-iron, silver ceramic-coated exhaust manifold on an car
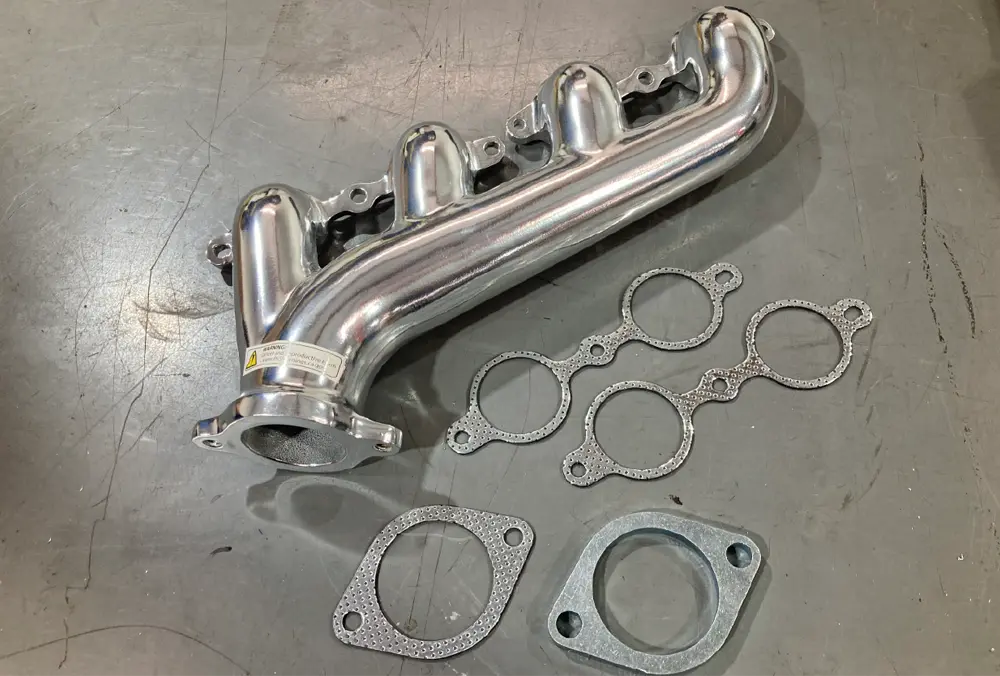
a Classic Performance Products (CPP) exhaust manifold, PN LSRDM-SC
1-2. We’re going to start our exhaust job at the front of the engine with the installation of a pair of cast-iron, silver ceramic-coated exhaust manifolds from Classic Performance Products (CPP), PN LSRDM-SC. CPP’s exhaust manifolds feature enlarged openings on the flange (cylinder head) side that match even the largest LS7 exhaust ports. This results in unrestricted exhaust flow, combined with the mellow tone, longevity, and ease of installation cast manifolds are known for, with performance numbers similar to short tube headers.
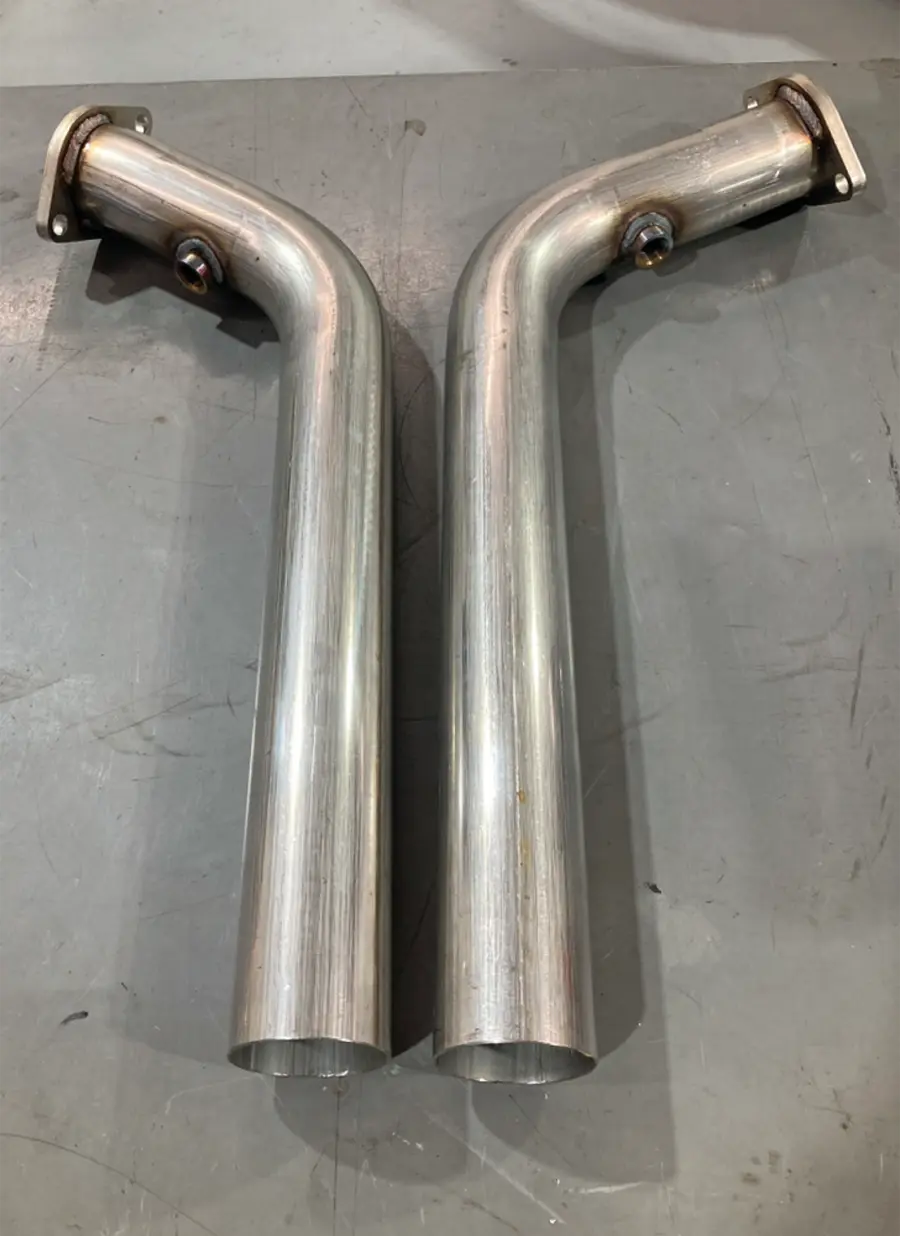
a pair of Hooker Blackheart Intermediate Pipes (PN HOK-BH13205) from Summit Racing

3. To make the transition from our CPP manifolds to the main portion of the exhaust, we’ll be using a pair of Hooker Blackheart Intermediate Pipes (PN HOK-BH13205) from Summit Racing. These 2-1/2-inch stainless steel transitions will set the stage for the rest of the exhaust as it transitions from the manifolds to the straight section.
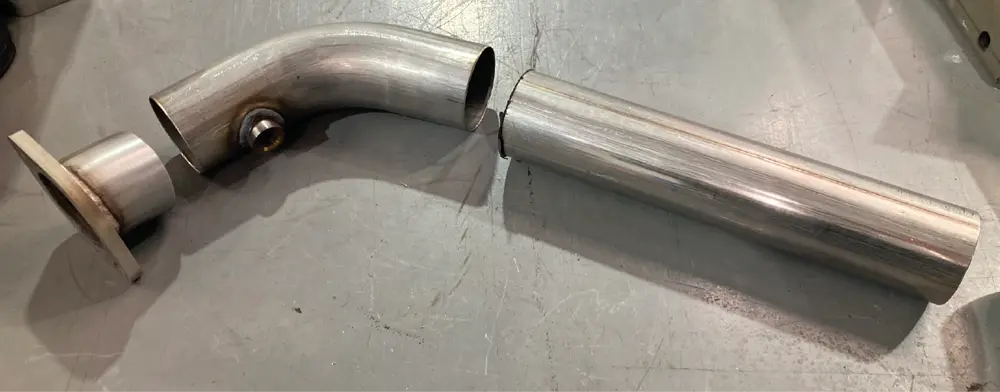
one of the Hooker Intermediate pipes, cut into three sections
4. We’re building a custom exhaust from scratch, so of course there’s going to be some modifications necessary. Here, we’ve cut the Hooker Intermediate pipes into three separate sections to bring the straight section of the exhaust up tighter to the bottom of the truck, further improving ground clearance.
close up of the sectioned Hooker Intermediate pipe marked and tack welded in position
5. The goal is to get both sides even and tucked up nice and tight against the bottom of the truck. This is a process that requires a lot of fine-tuning, but once each section is acceptable, it’s marked and then tack welded on the bench (if not possible to tack weld in position).
close up of the sectioned Hooker Intermediate pipe's marks
6. Here, the importance of the markings can be seen, as it allows the two sections to remain correctly clocked while tacked.
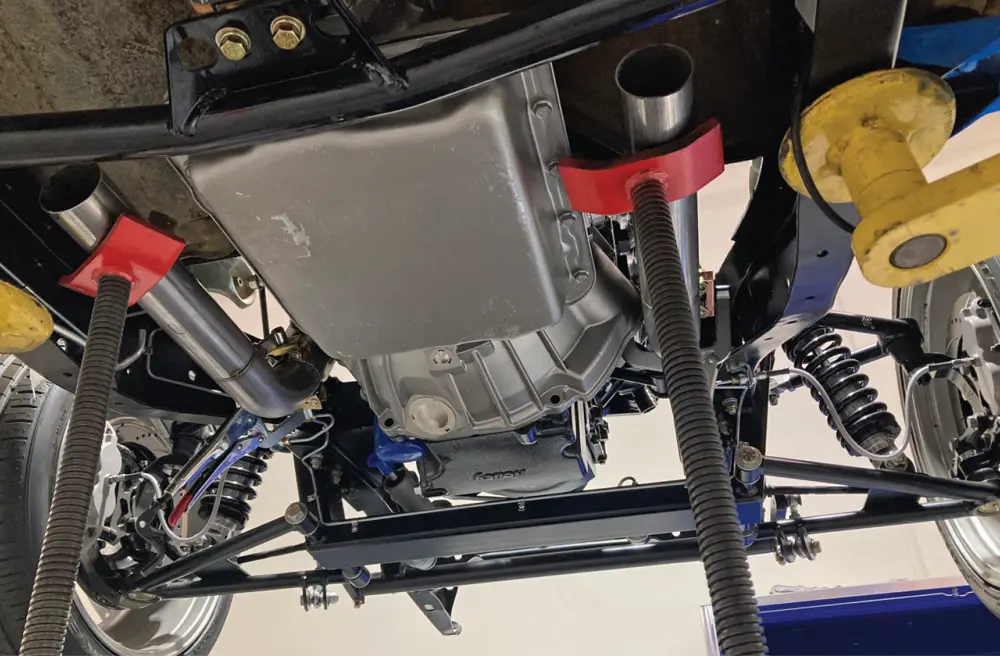
wide view of the exhaust system beneath a lifted car body
7. With the intermediate sections trimmed and tacked to taste, it’s time to move onto the rest of the exhaust.
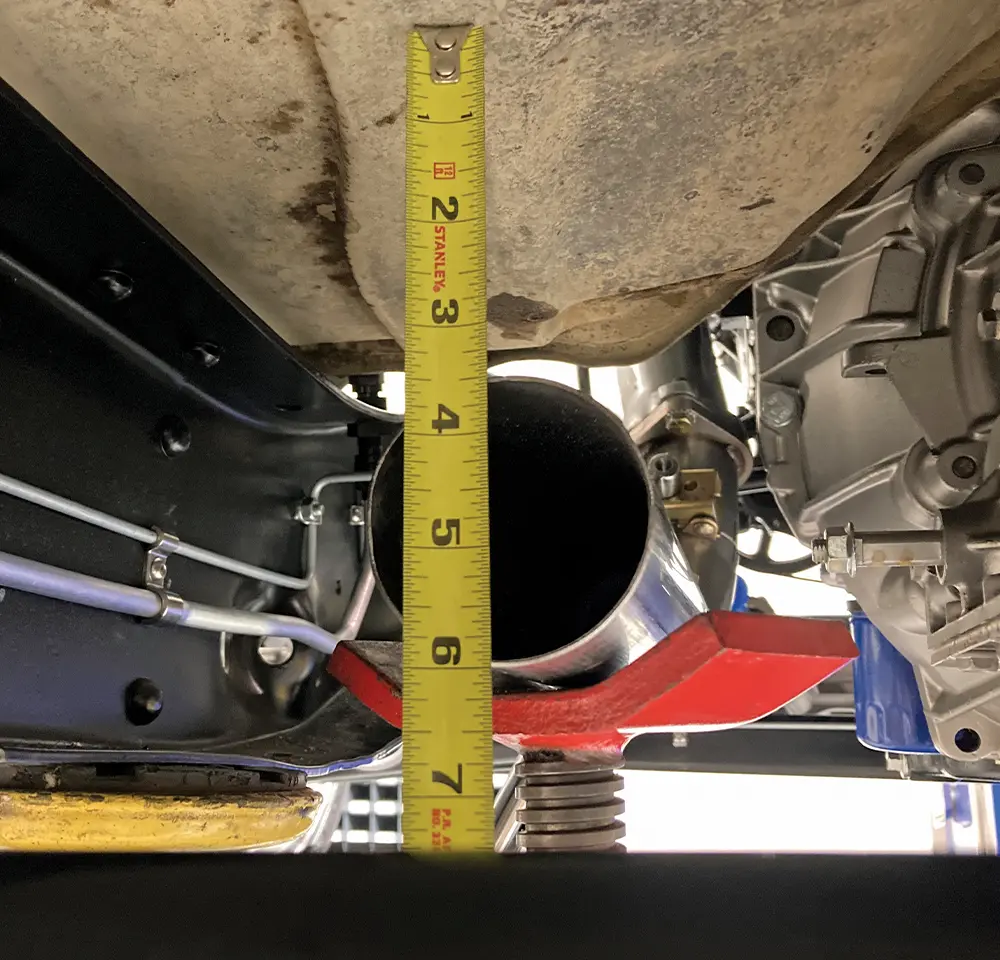
tape measuring a pipe end vertically
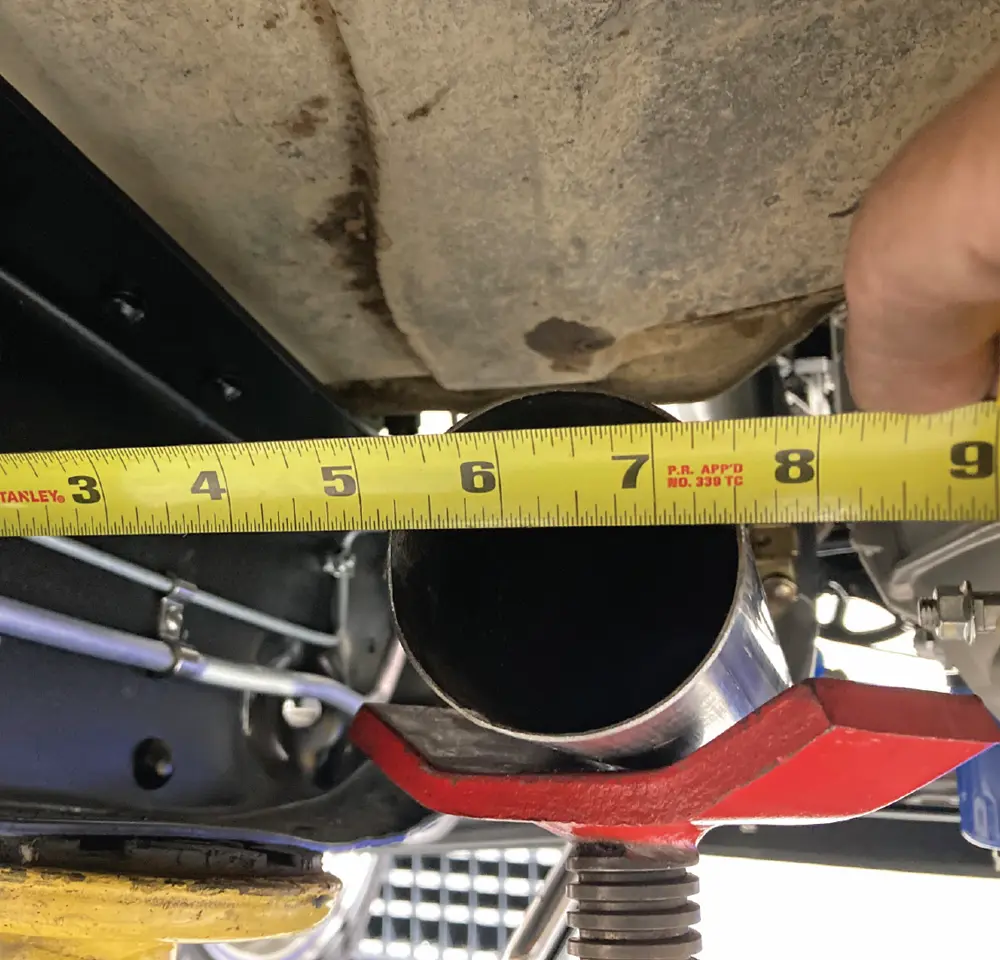
tape measuring a pipe end horizontally
wide view of both pipe ends
8-10. It should be noted that both sides are symmetrical in relation to the body and chassis, as that’s the end goal with all that previous slicing and dicing. Note how both sides are now even and tucked up inside the frame, with maximum ground clearance in mind.
a Granatelli Motor Sports Exhaust Pipe Adapter (PN 313531) beside a Summit Racing Stainless Steel Formed Transition Tube (PN SUM-643070)
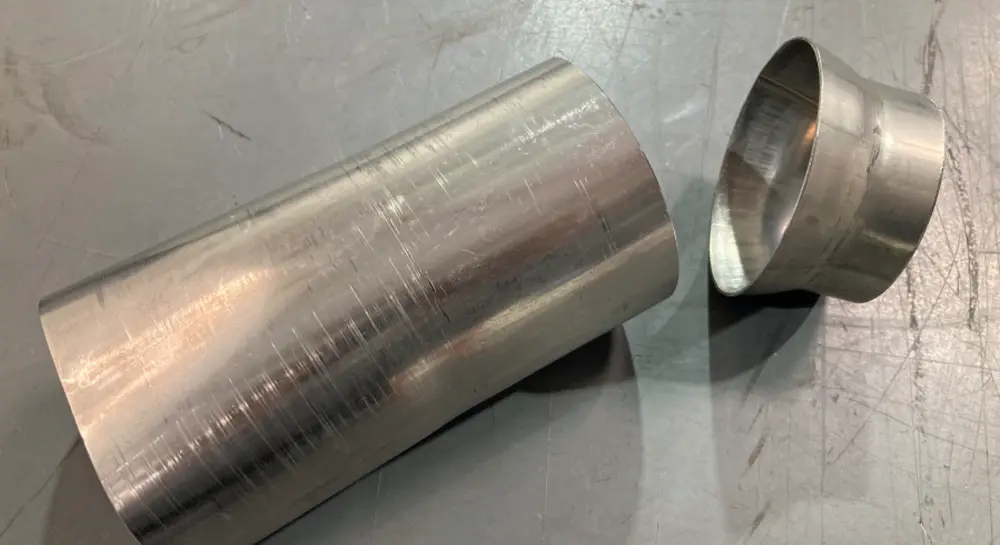
11. This is where things get interesting. Our intermediate pipes are 2-1/2 inches in diameter, but the rest of the exhaust will be fabricated using 3-inch oval stainless from Granatelli Motor Sports. First things first, we need to transition from 2-1/2- to 3-inch round tubing, an easy task accomplished by the use of a Summit Racing Stainless Steel Formed Transition Tube (PN SUM-643070). From there, a Granatelli Motor Sports Exhaust Pipe Adapter (PN 313531) will get us from 3-inch round to 3-inch oval tubing, and off we go!
the exhaust components are cleaned with acetone inside and out
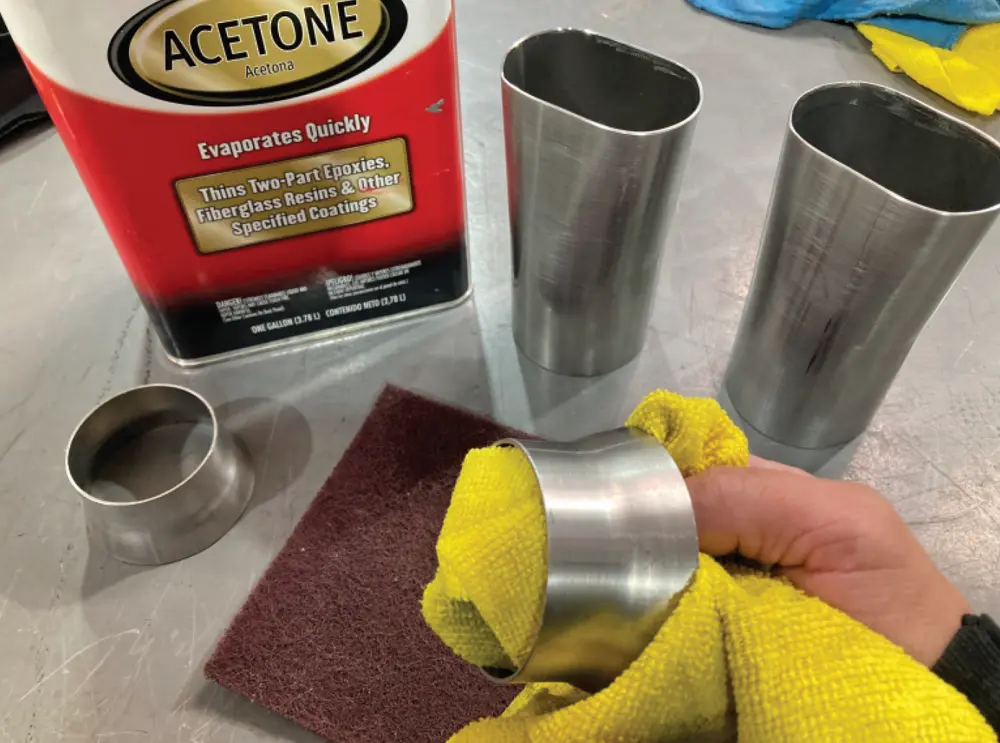
12. Before any welding is done, all the exhaust components are cleaned with acetone inside and out. TIG welding is very sensitive to any impurities.
the transition from 2-1/2-inch round to 3-inch oval being fabbed on the bench
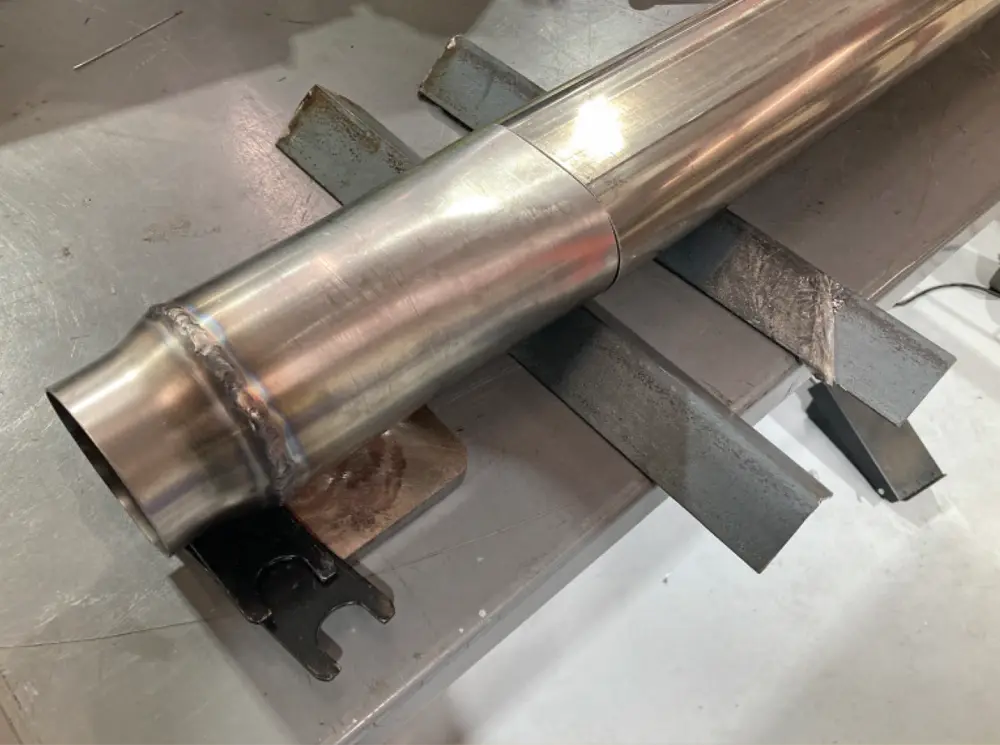
13. Here’s the transition from 2-1/2-inch round to 3-inch oval being fabbed on the bench. From the transition, we’ll begin the long run to the rear of the truck, using a 5-foot section of straight oval tubing (PN 313535).
four oval pipe elbows with different degree bends
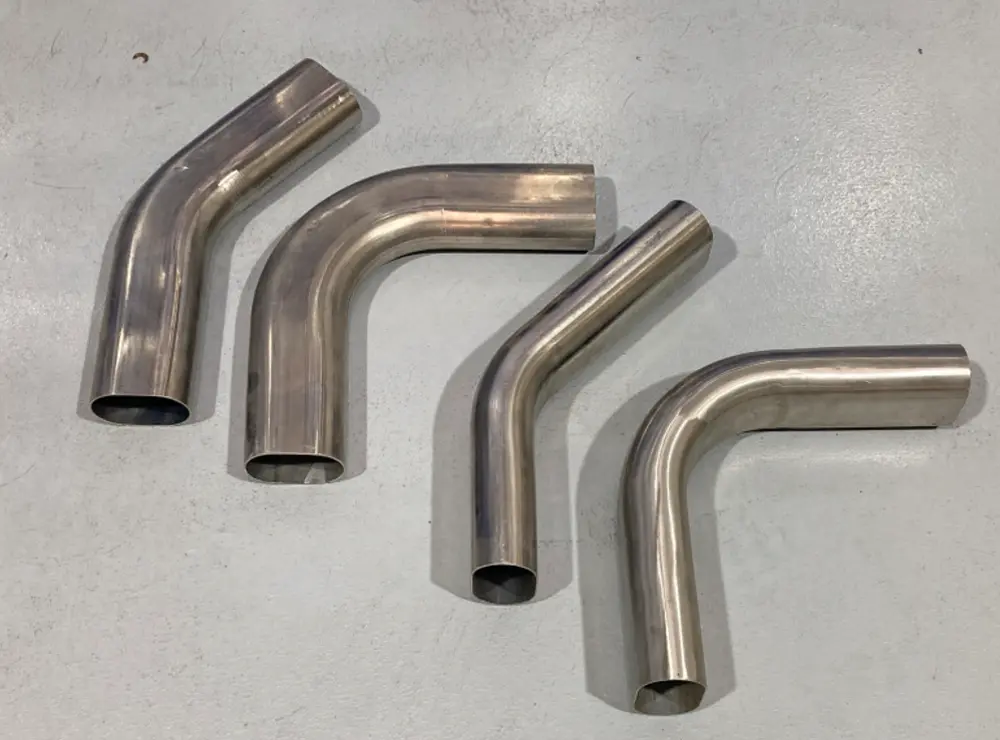
14. When dealing with round tubing, a single bend can provide a change of direction in either a horizontal or vertical plane by simply rotating it, but when dealing with oval tubing each bend is specific to that plane. Each bend either turns to the left or right, or up and down, but never both. This makes changing direction easy, but requires careful planning when ordering materials.
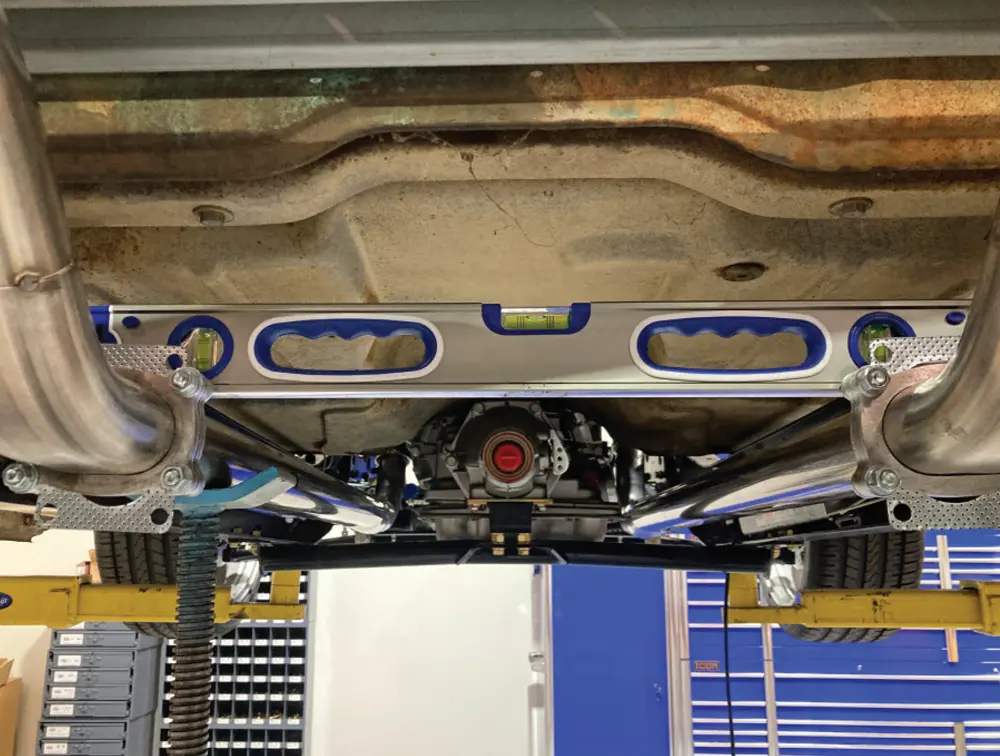
the pipes levels are measured
15. While making our way rearward, care is taken to ensure that the exhaust is nice and level, both side to side and front to back. Note the use of a pair of flanges to make assembly and disassembly of the system easy. Spare gaskets are being used as spacers as we didn’t have the correct gaskets at the time.
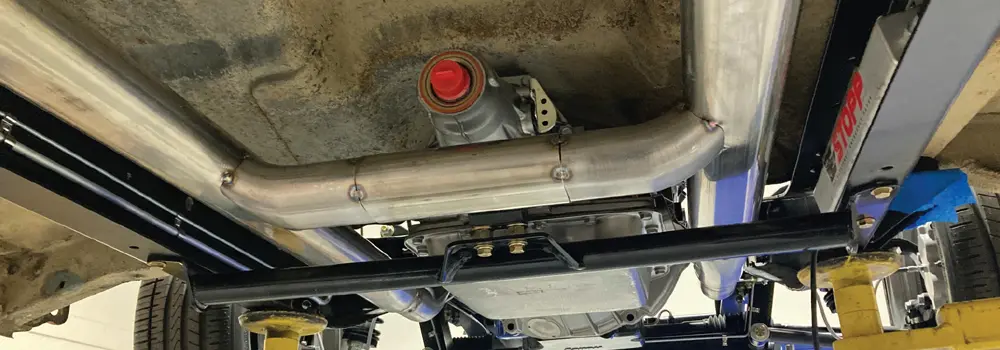
the simple H-pipe, just aft of the transmission, under the tailshaft
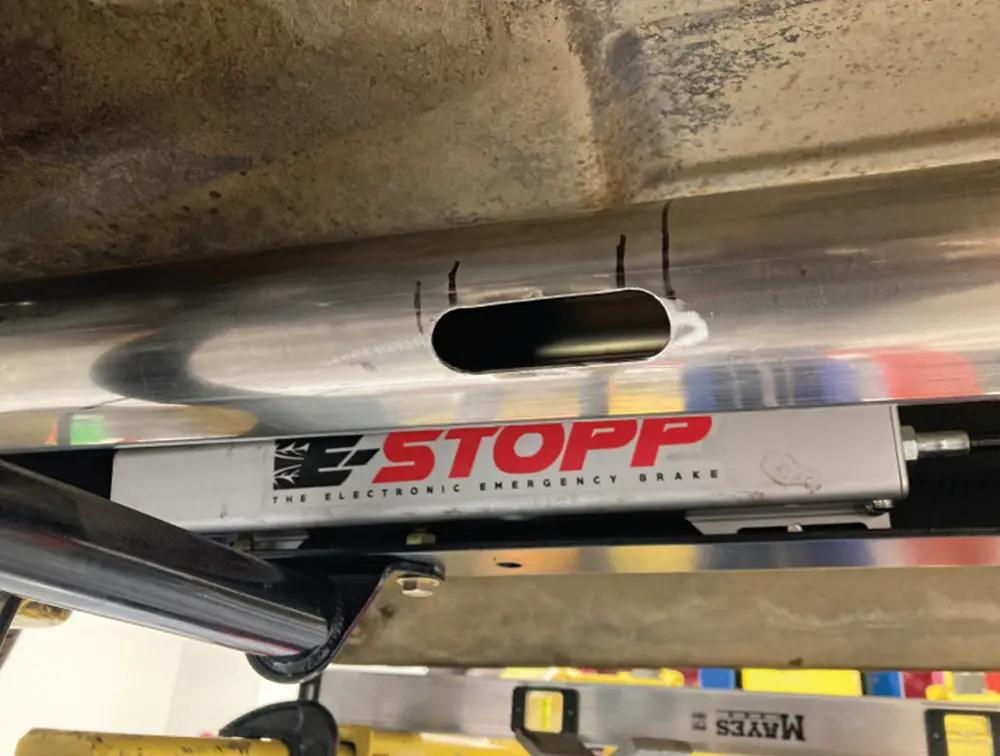
16. A simple H-pipe is installed, just aft of the transmission, under the tailshaft. An oval hole is cut just undersized of the exhaust tubing on both sides of the exhaust …
the simple H-pipe with the section of tubing to join the two
17. … and a section of tubing fabricated to join the two. An H-pipe helps equalize the pressure differences between the cylinder banks, resulting in reduced drone and improved throttle response and cylinder scavenging.
the front section of the C10’s exhaust tacked together and placed on a steel bench for final welding
18. With the front section of the C10’s exhaust tacked together, it’s removed from the vehicle and placed on a steel bench for final welding. Note the ends have been sealed so that the section can be properly purged with Argon gas. This is a must when butt welding stainless steel tubing as it promotes full weld penetration and reduces the introduction of impurities to the backside of the weld (also known as sugaring).
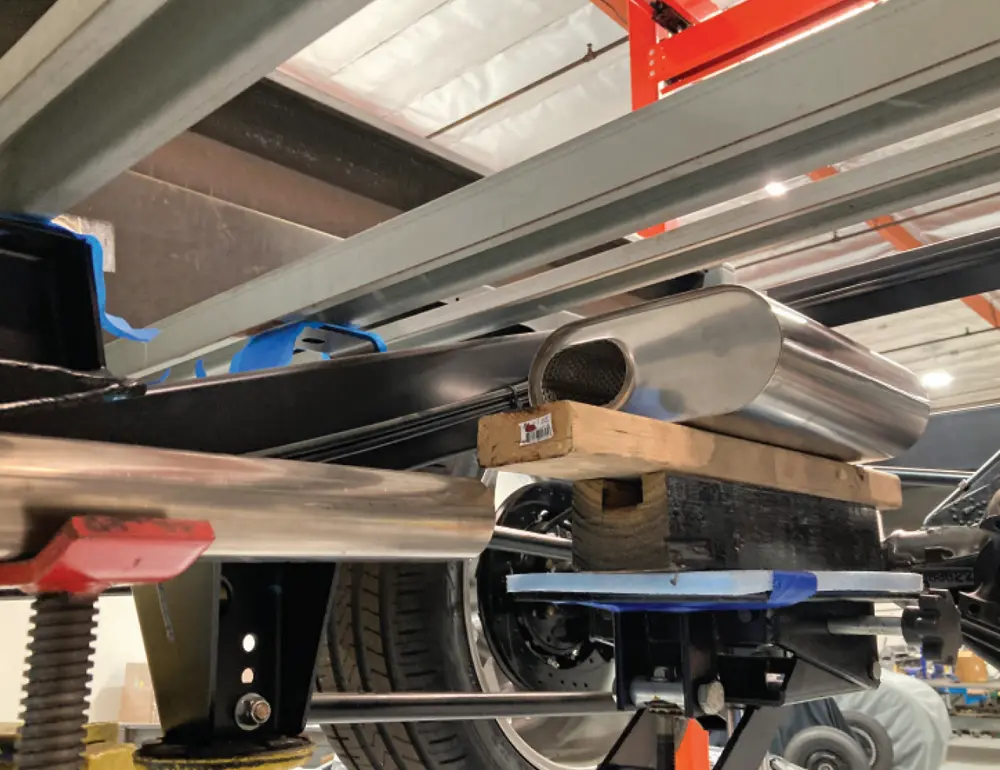
a muffler is mocked in place and the distance between it and the main straight exhaust section is measured
19. Locating the Granatelli Motor Sports stainless mufflers (PN 313541) behind the cab will help further reduce droning and provide a more comfortable cruising environment. Here, a muffler is mocked in place and the distance between it and the main straight exhaust section is measured.
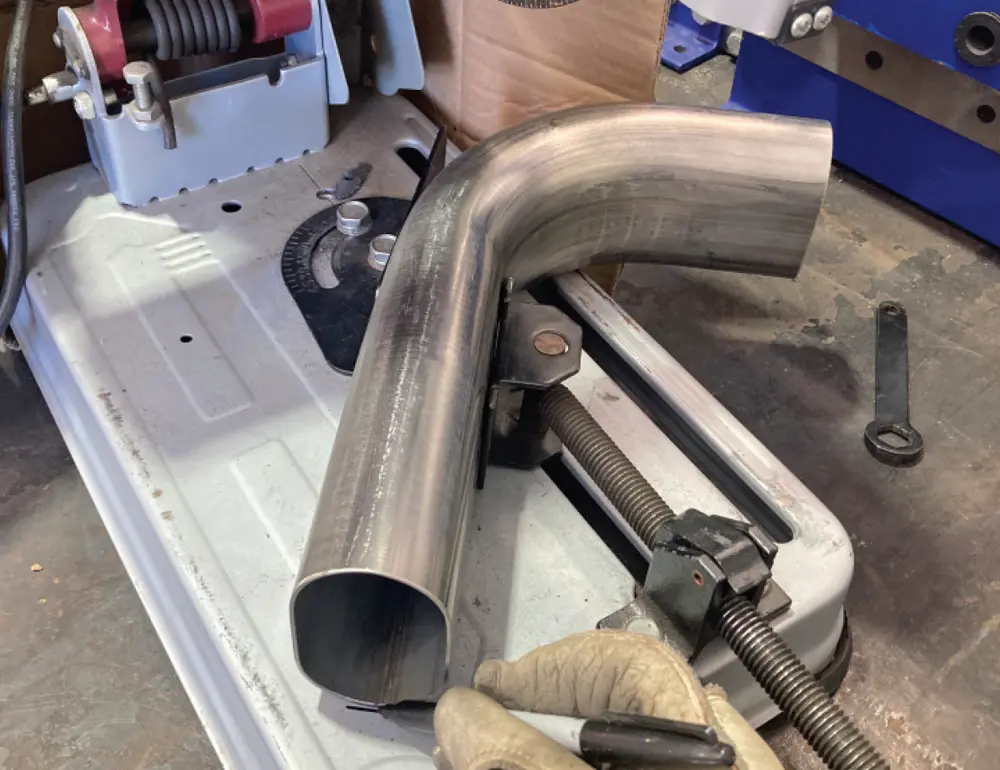
a Granatelli Motorsports vertical radius 90-degree bend oval exhaust tube
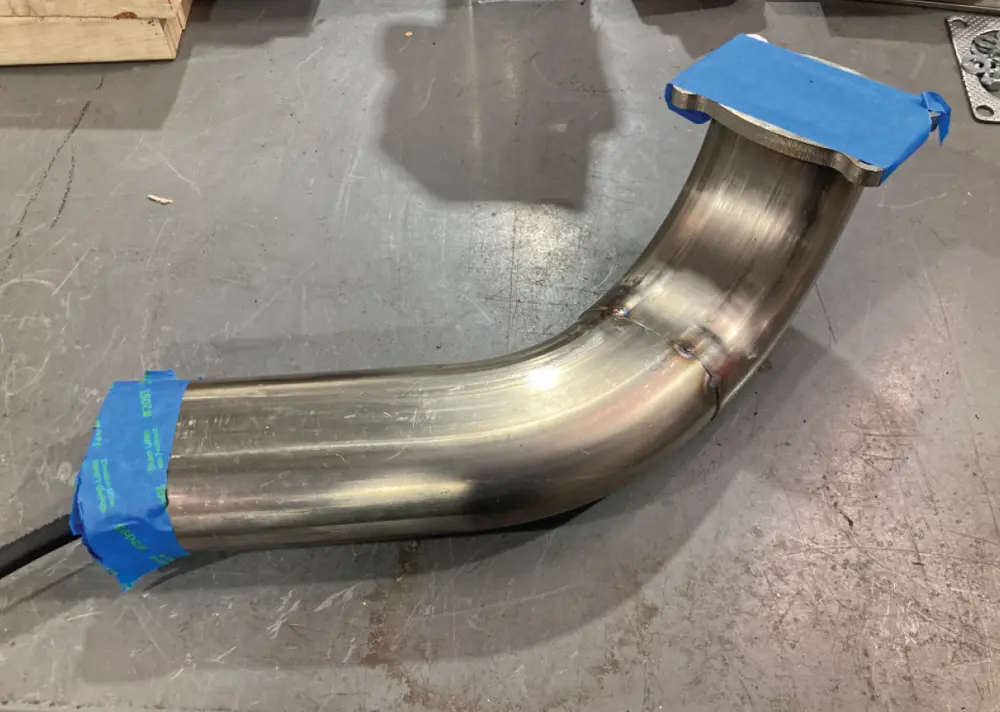
20. An S-bend is needed to mate the muffler with the rest of the exhaust, accomplished by evenly splitting a vertical radius 90-degree bend (PN 313539).
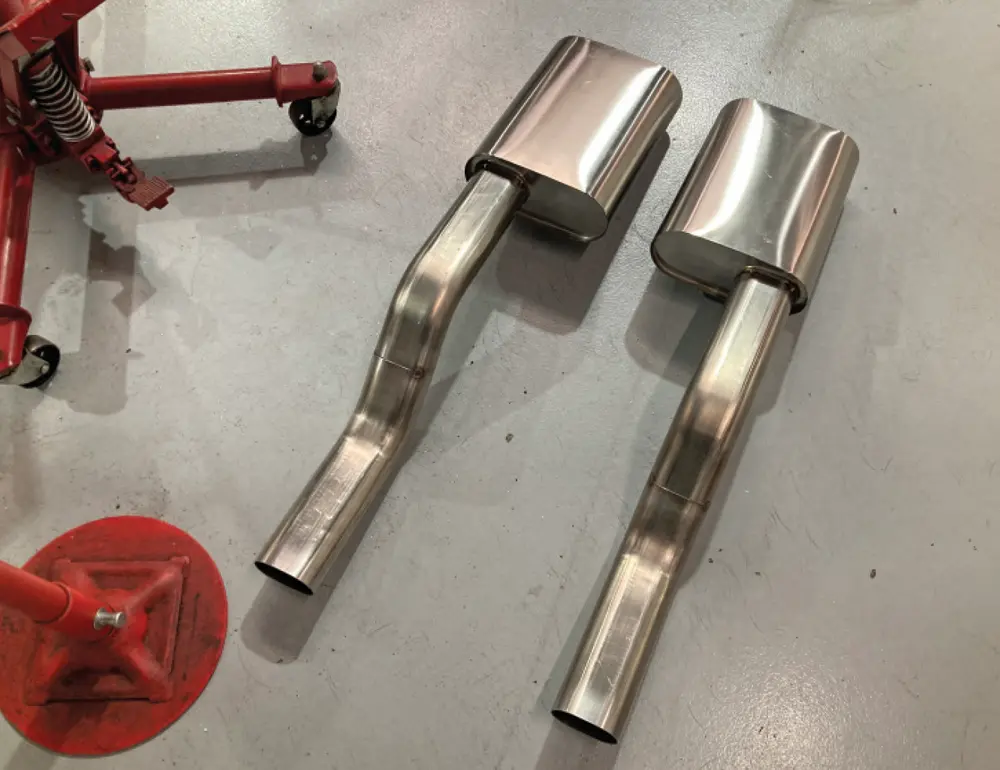
both mufflers and their respective S-bend placed side by side on a auto shop floor
21. Both mufflers and their respective S-bend have been tacked and are ready to be attached to the rest of the exhaust.
side view of a large C-clamp and a block of wood serving to evenly mount each section temporarily
low angle view of a large C-clamp and a block of wood serving to evenly mount each section temporarily
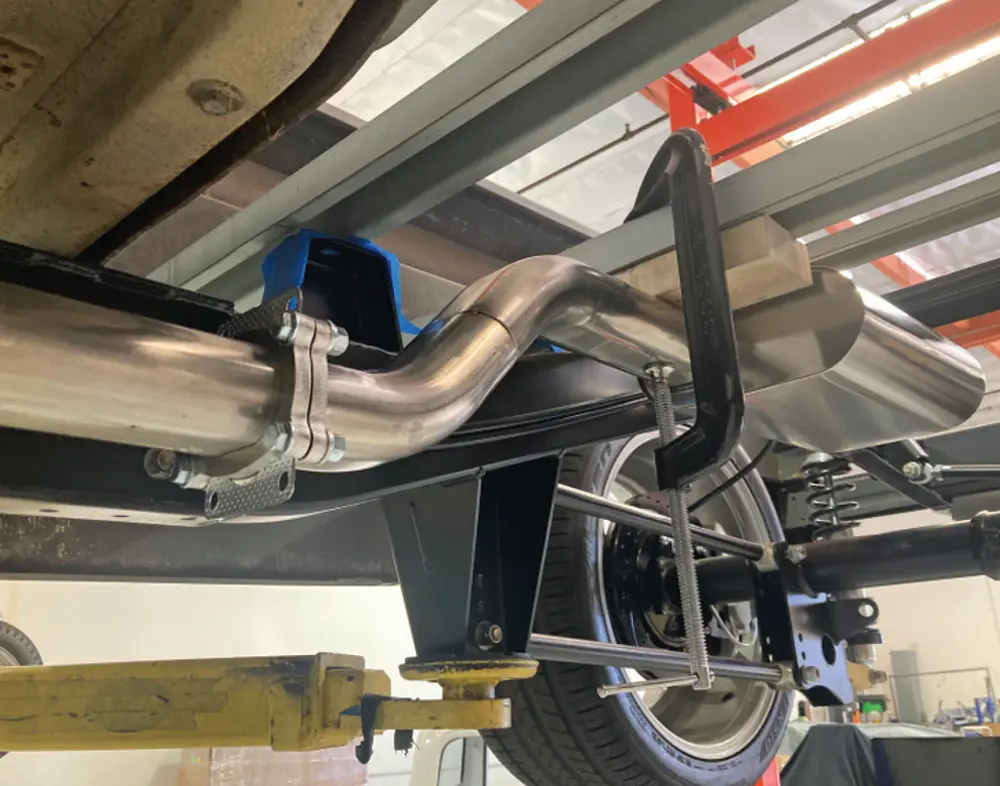
22-23. A large C-clamp and a block of wood serve to evenly mount each section temporarily as measurements are made to ensure each side is symmetrical.
a muffler, terminating just in front of the rear end, fitted with a 45-degree horizontal bend (PN 313536)
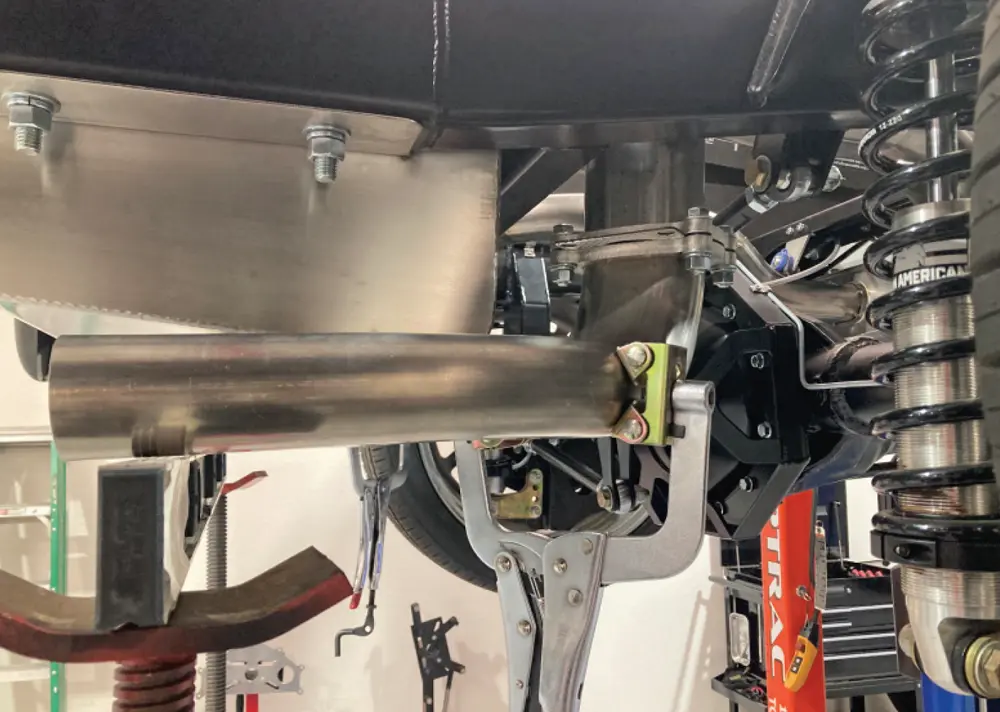
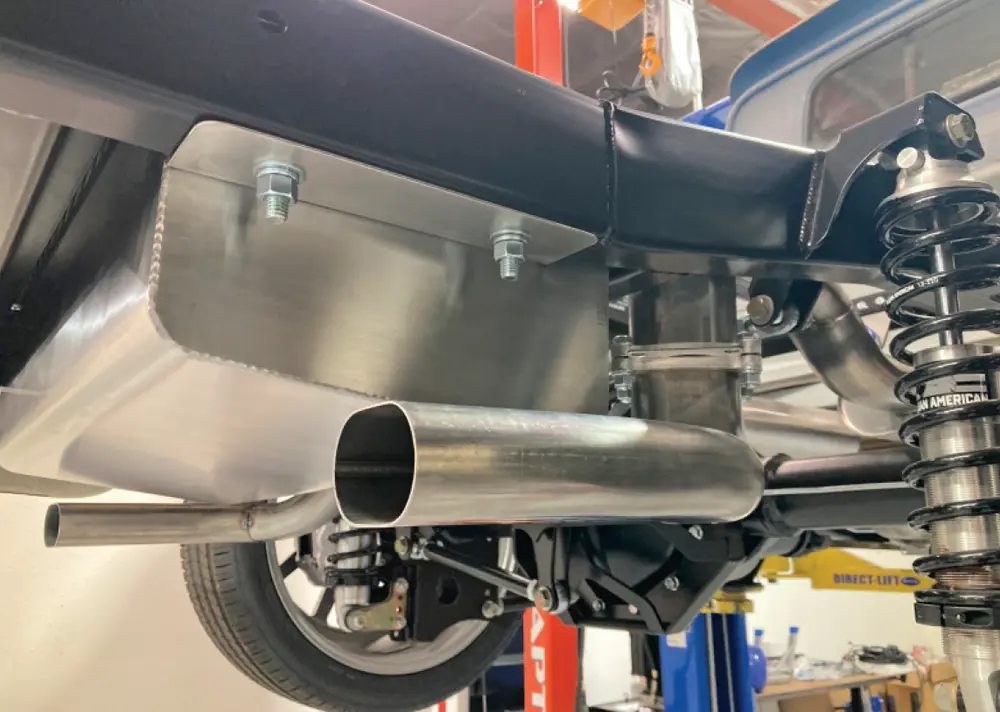
24. The mufflers terminate just in front of the rearend, so it’s necessary to add another vertical S-bend to the exhaust to kick it up and over it, followed by a 45-degree horizontal bend (PN 313536) to begin directing the exhaust around the gas tank.
wide view of another pair of 90-degree vertical bends directing the exhaust tubing back under the chassis and around the Watt’s Link
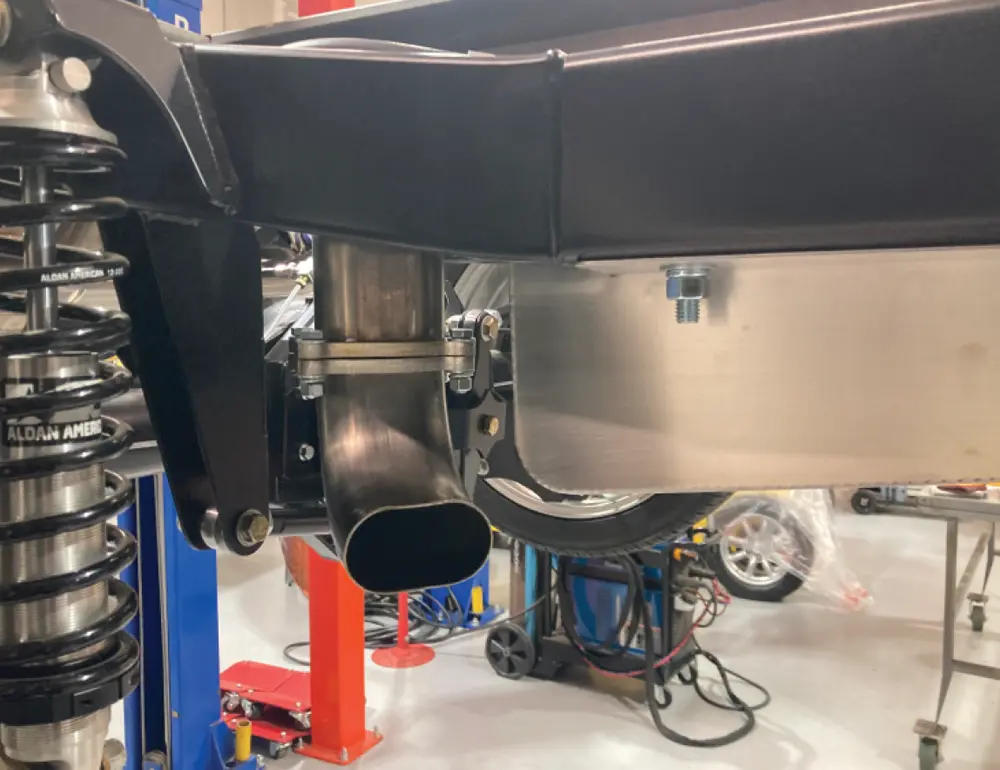
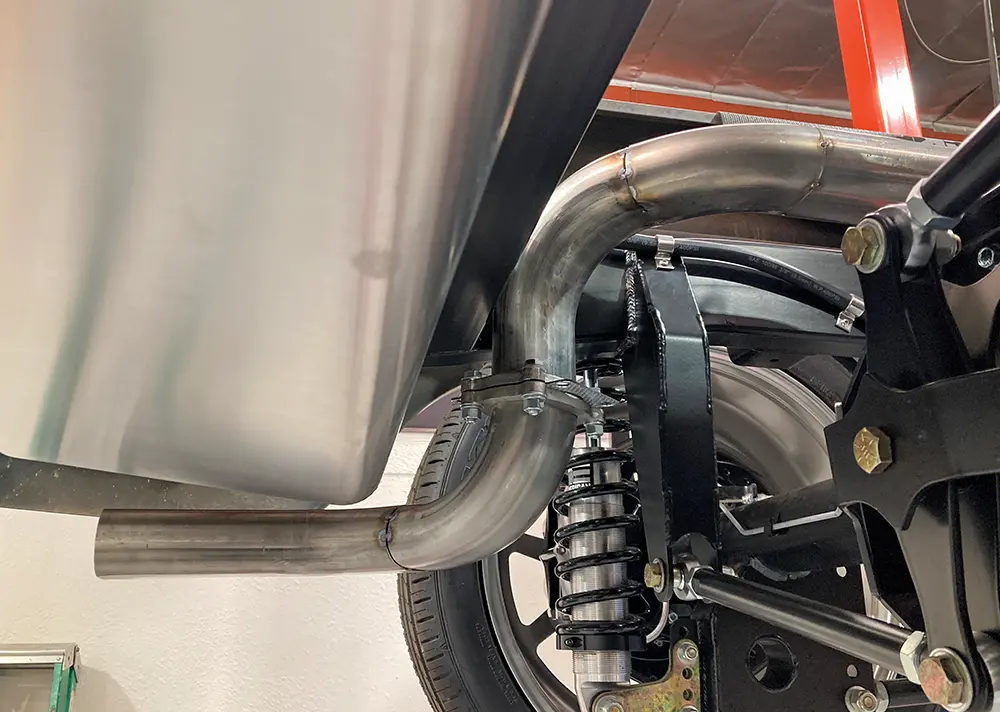
25. Following the horizontal bend, another pair of 90-degree vertical bends direct the exhaust tubing back under the chassis and around the Watt’s Link. Another pair of flanges will be added to the bottom of each turndown.
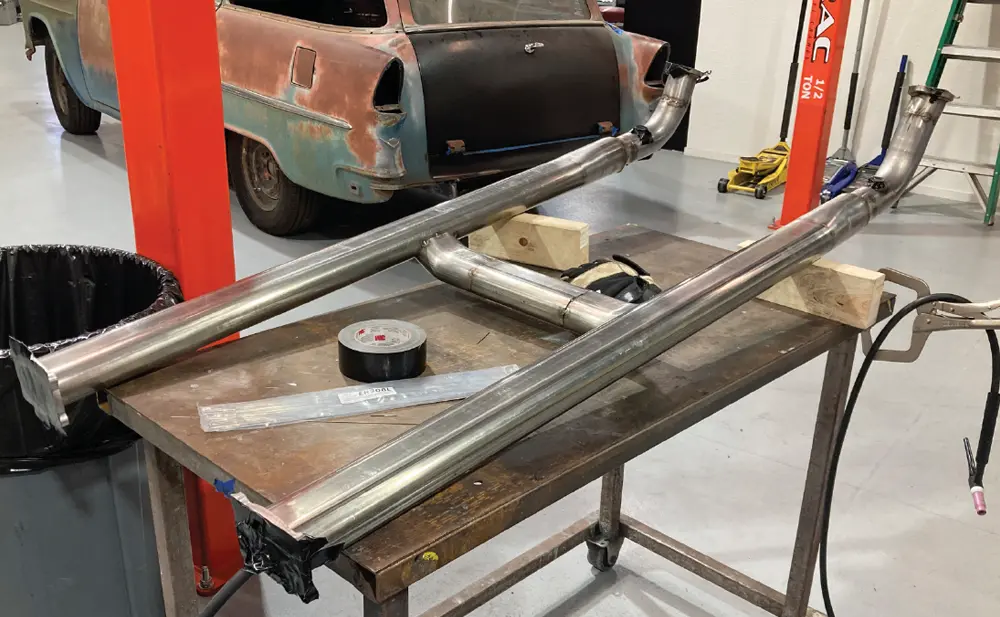
the exhaust center section placed on a steel bench for final welding
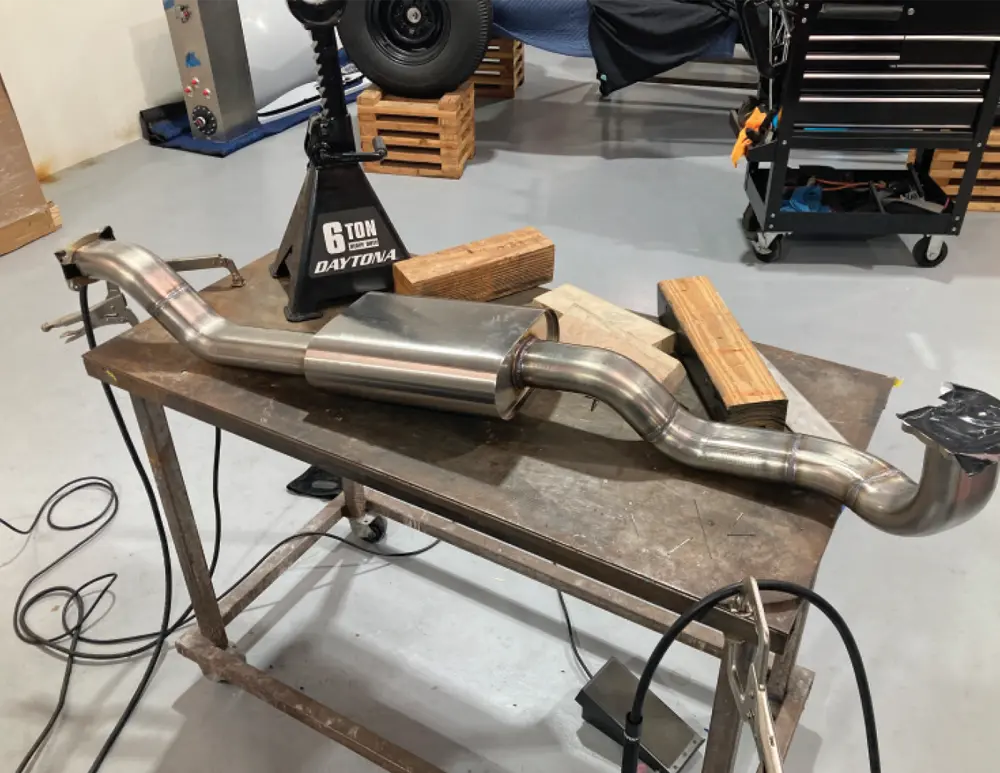
26. The centersection receives the same treatment as the front, being final welded on the bench after a full Argon purge.
an area of exhaust facing straight down
27. With the exhaust facing straight down, another change of direction is required to make the final course toward the back of the truck.
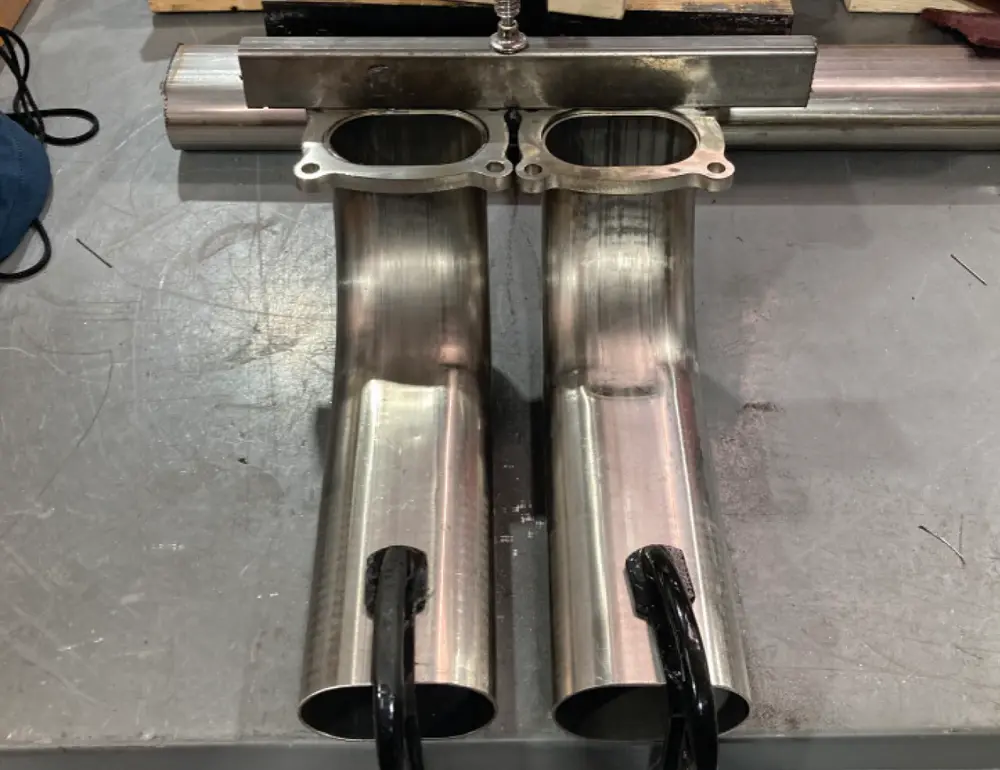
a pair of 90-degree vertical bends tacked to a pair of flanges sit on a bench
28. Another pair of 90-degree vertical bends are tacked to a pair of flanges to accomplish this. Note the use of clamps to help ensure both bends are identical.
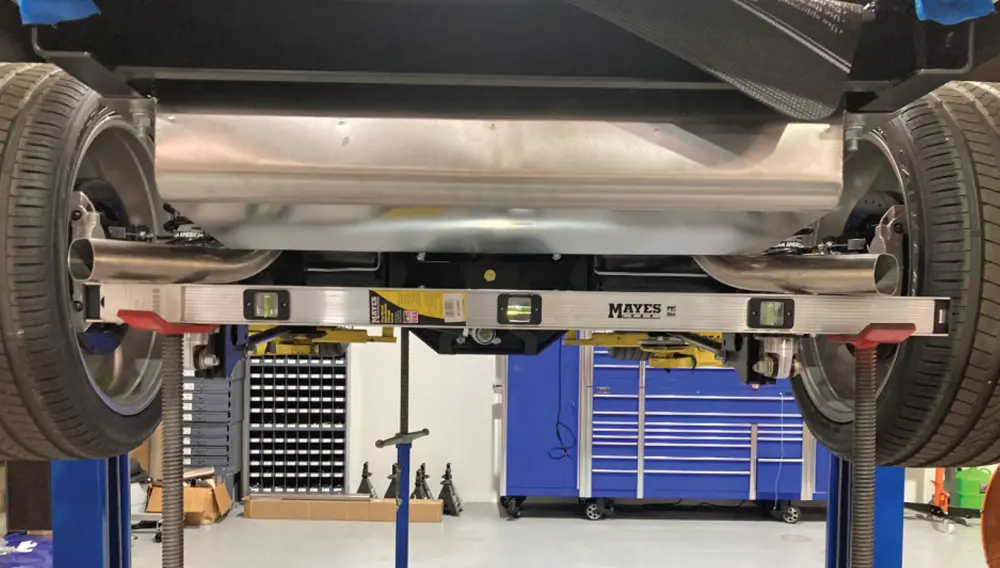
both exhausts are checked for level and symmetricity
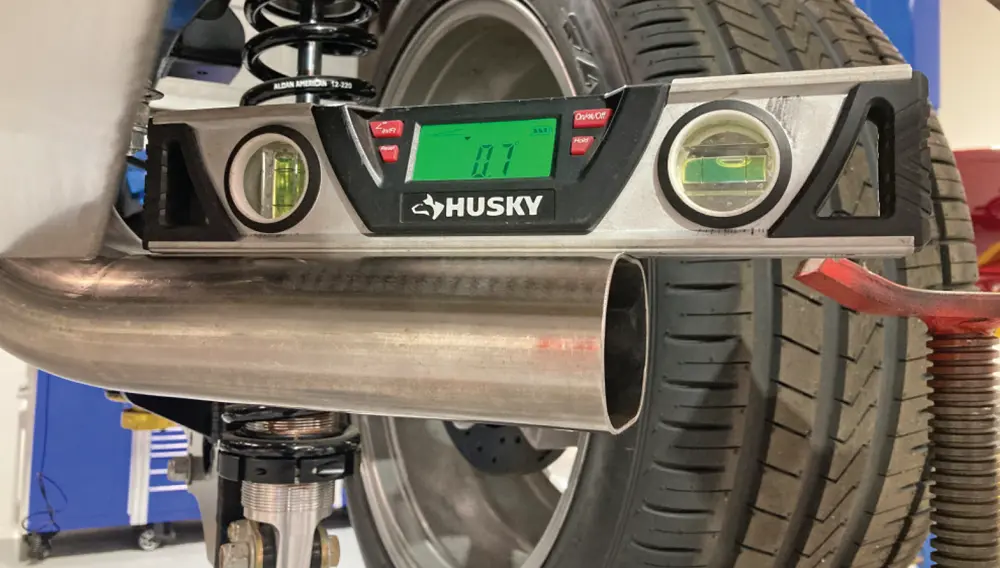
the level of a pipe section is measured
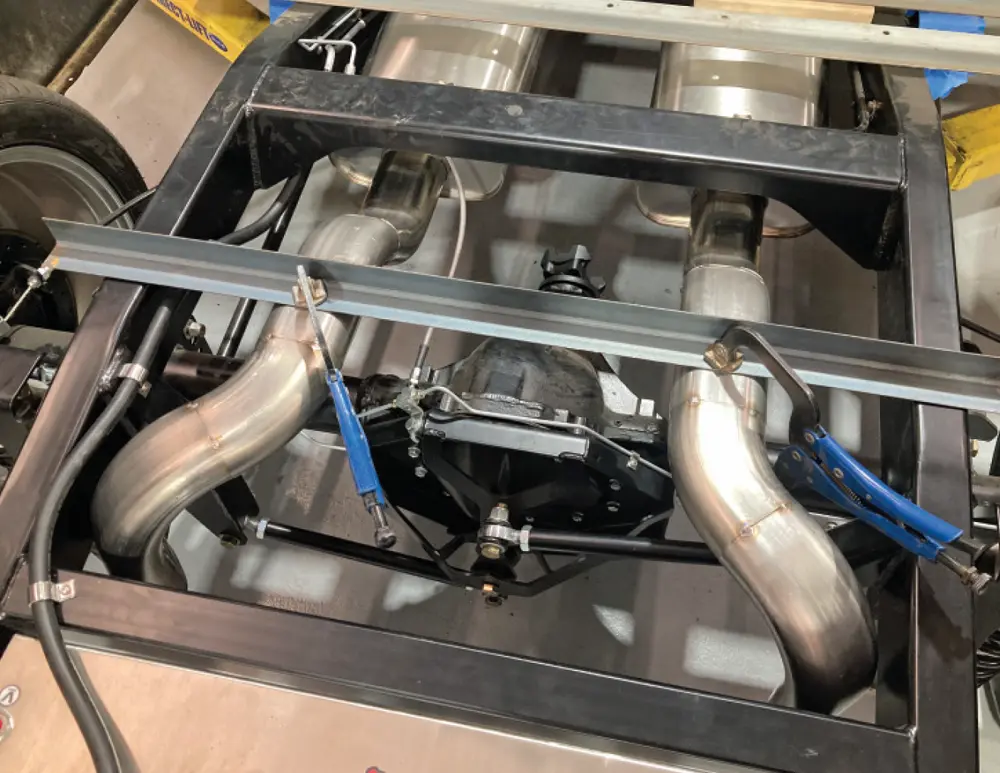
29-30. All those twists and turns can get away from one quickly if the assembly isn’t constantly checked for level and symmetricity.
a clamp holds a horizontal 45-degree bend in place for welding
both exhausts are checked for level and symmetricity
a pair of horizontal 45-degree bends make for the final turn as the exhaust winds its way around the gas tank
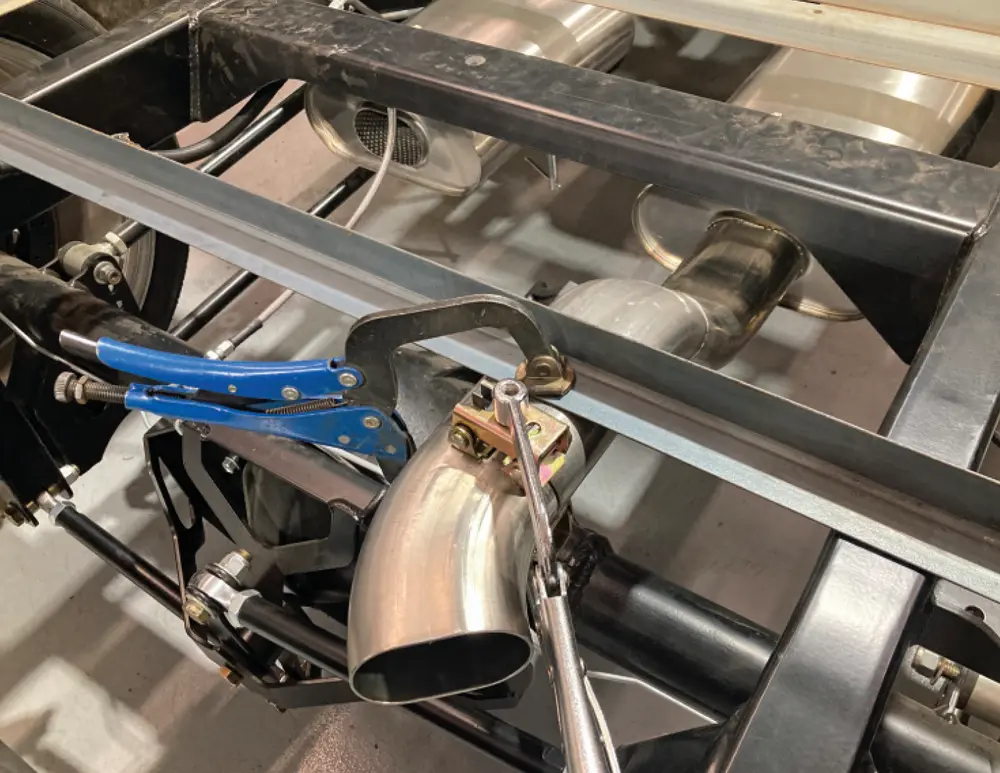
31-33. A pair of horizontal 45-degree bends make for the final turn as the exhaust winds its way around the gas tank. A pair of clamps mate the two sections of tubing while a carefully placed level ensures the two sides are symmetrical and level.
a pair of flanges on each side ensure easy removal of the entire exhaust system if need be
34. Snaking up and over the rearend and around the gas tank, a pair of flanges on each side ensure easy removal of the entire exhaust system if need be.
last two sections after being welded on the bench
35. The last two sections are then welded on the bench.
close up of Granatelli’s exhaust flange
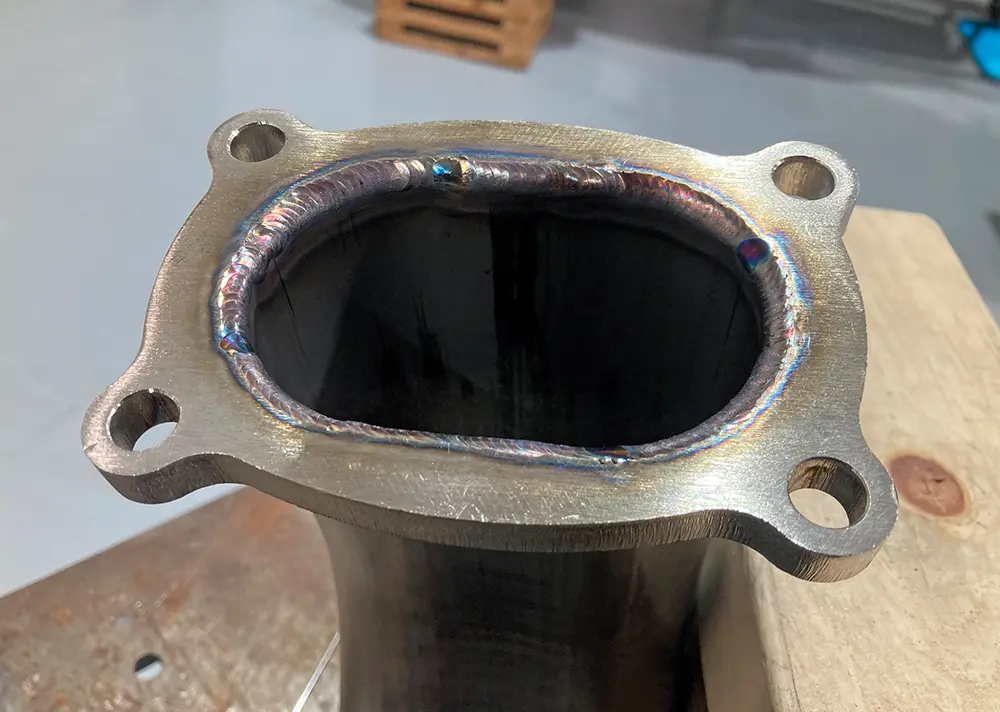
36. Granatelli’s exhaust flanges slip over the oval tubing, which allows them to be welded internally.
vibrant orange High-Temp RTV sealant is applied to a flanged surface

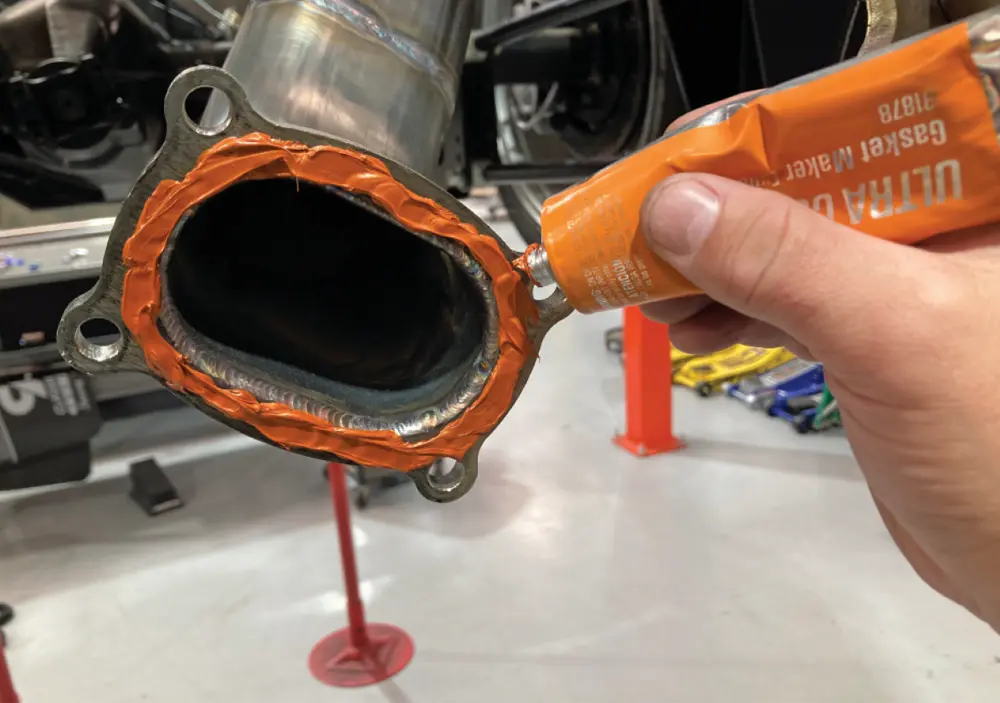
37. High-Temp RTV sealant is applied between the two flanged surfaces to ensure a leak-free assembly.
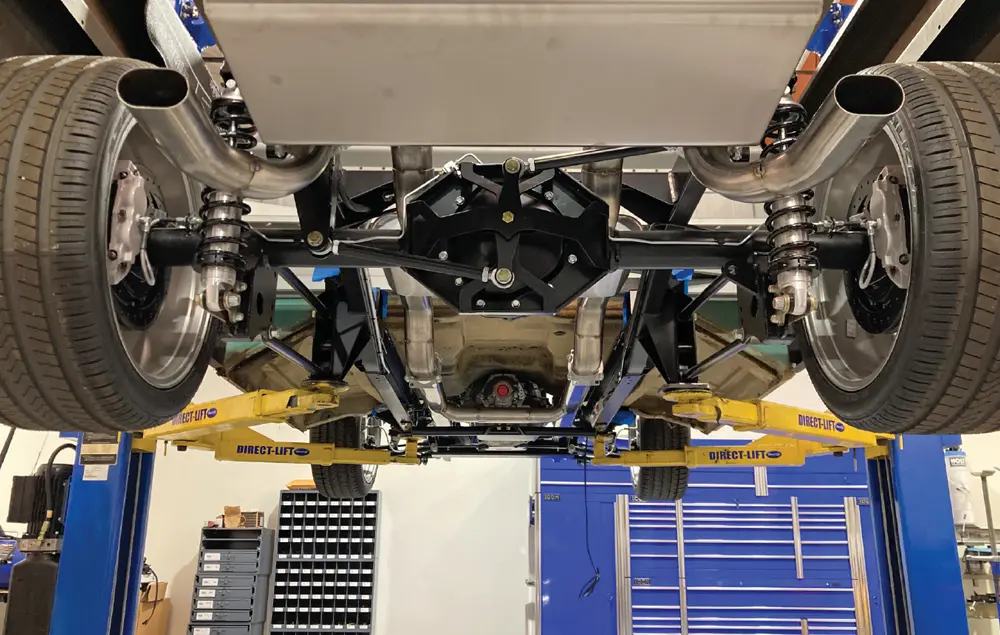
rear view of the lifted car
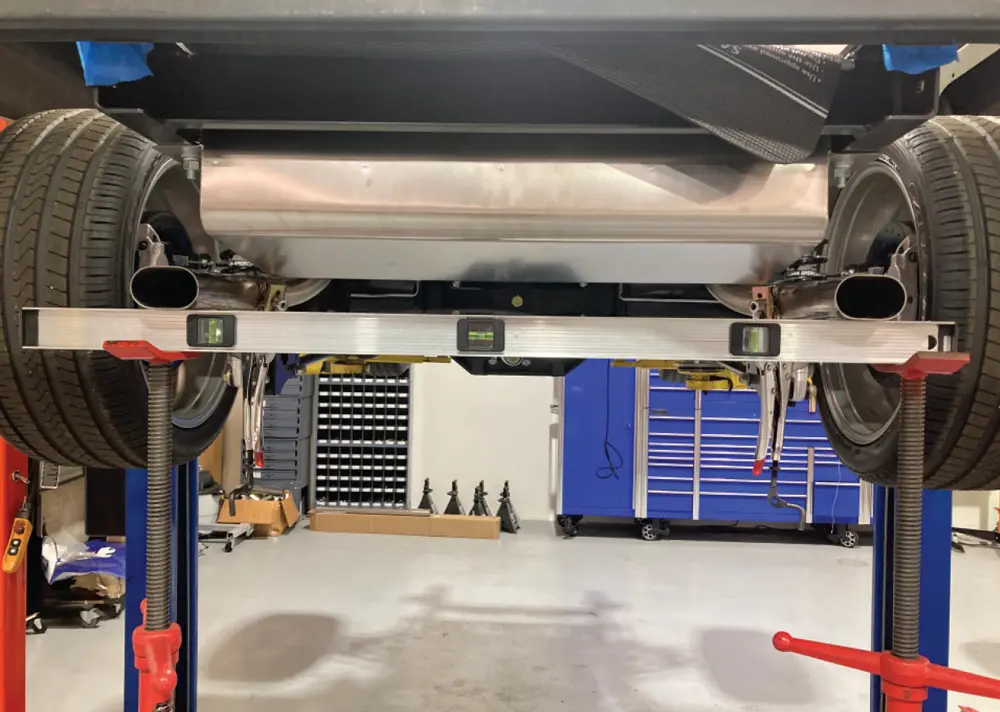
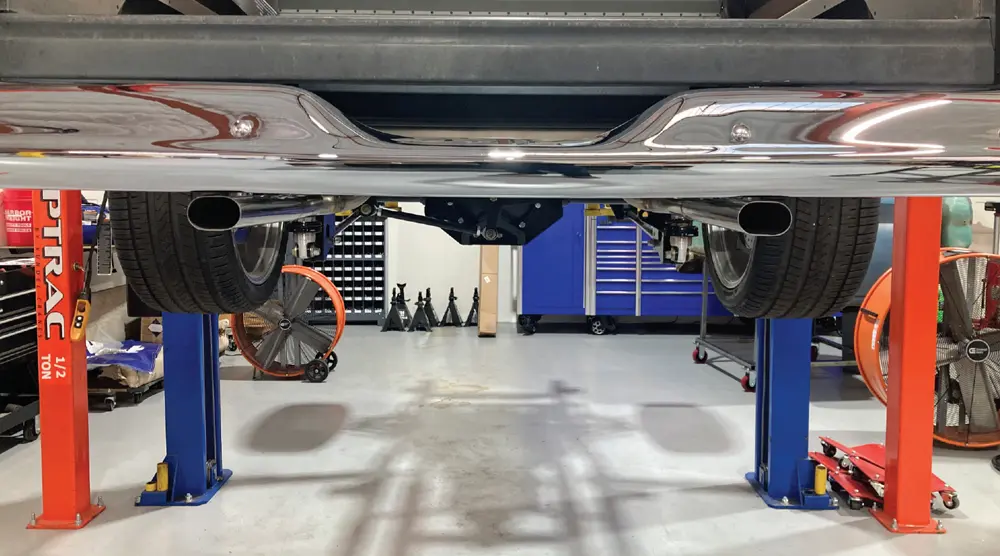
38. With the majority of the exhaust fabricated, it’s time to finish off the back side with the oval ends tucking just under the bumper.
rear view, level with the bumper, of the two oval exhaust pipes
the straight section of oval tubing welded to the exhaust end
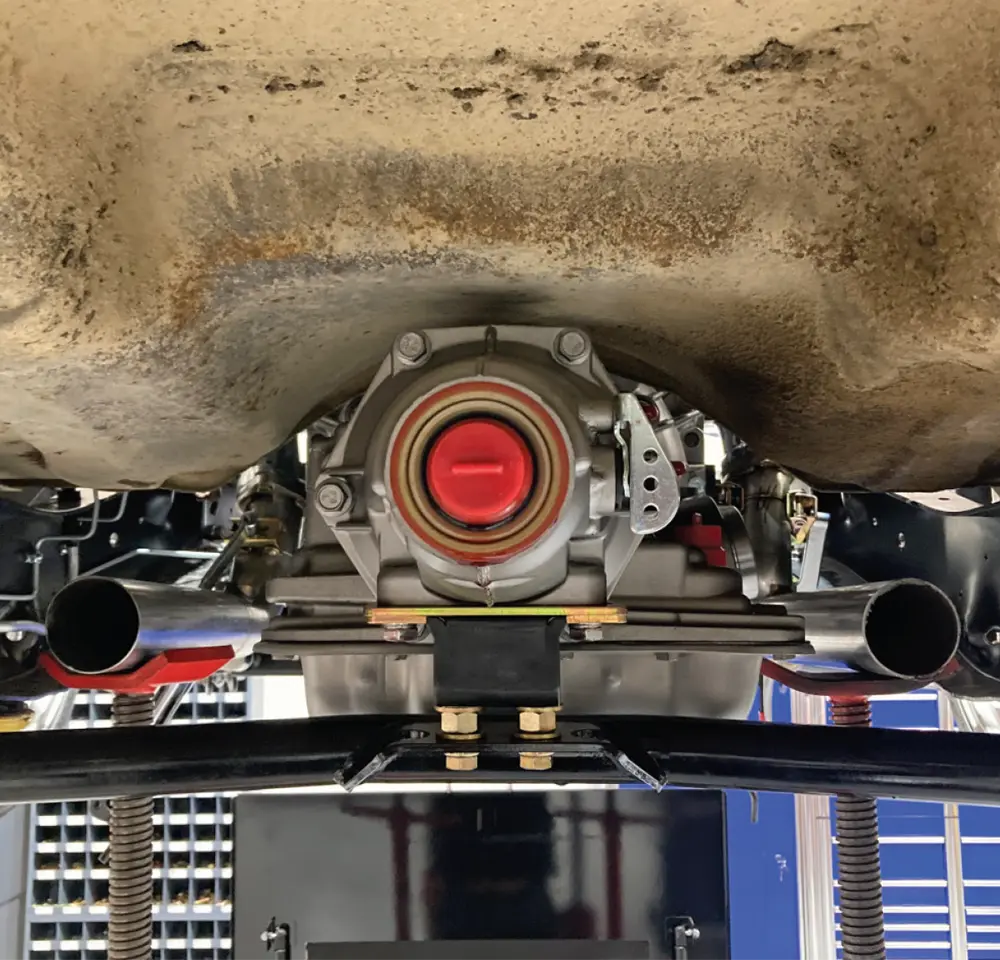
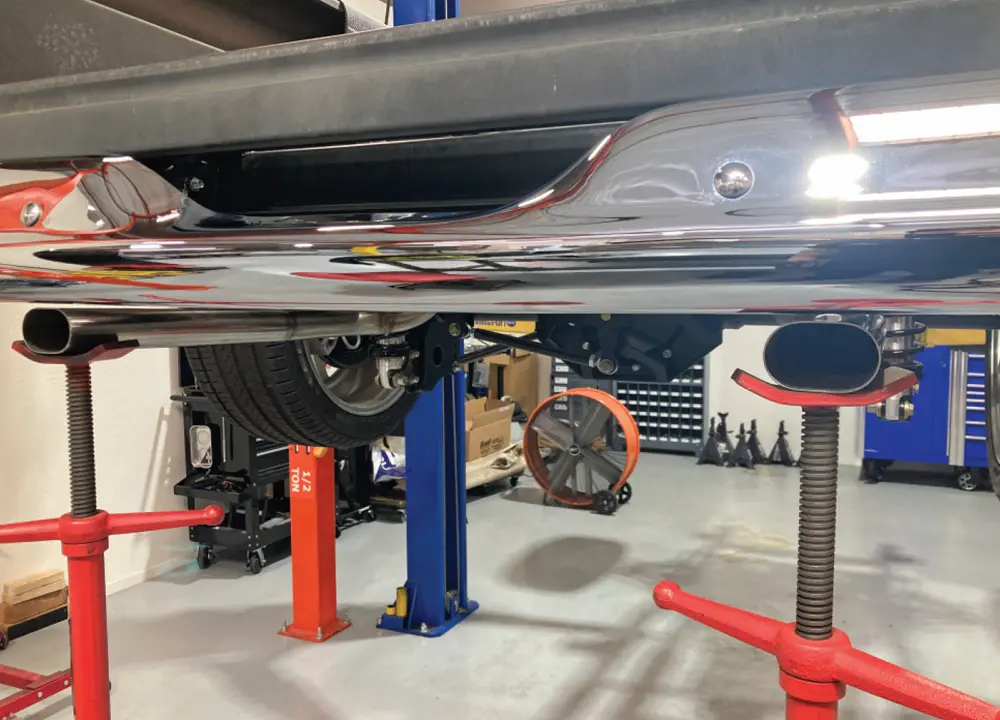
39-40. Another straight section of oval tubing is mocked in place and trimmed until we’re satisfied with the placement of the end of the exhaust. With a height of only 2.2 inches, our oval exhaust tucks in nicely just in front of the bumper, something larger round tubing, especially 3-inch, just couldn’t do.
close up of the stainless steel Weld-On Exhaust Hanger from Summit Racing (PN SUM-610331)
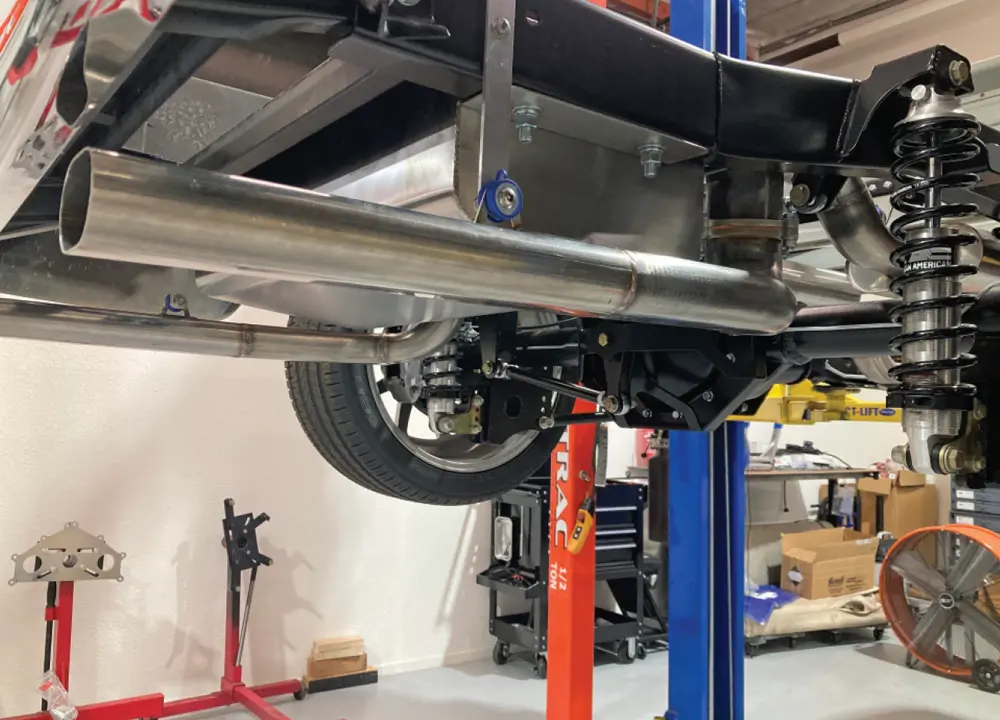
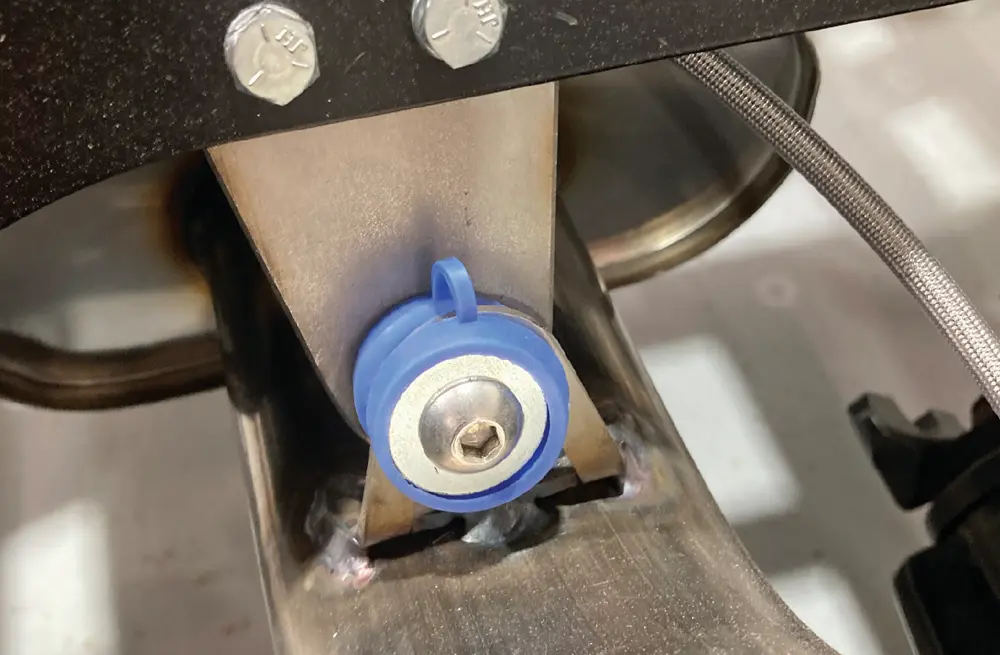
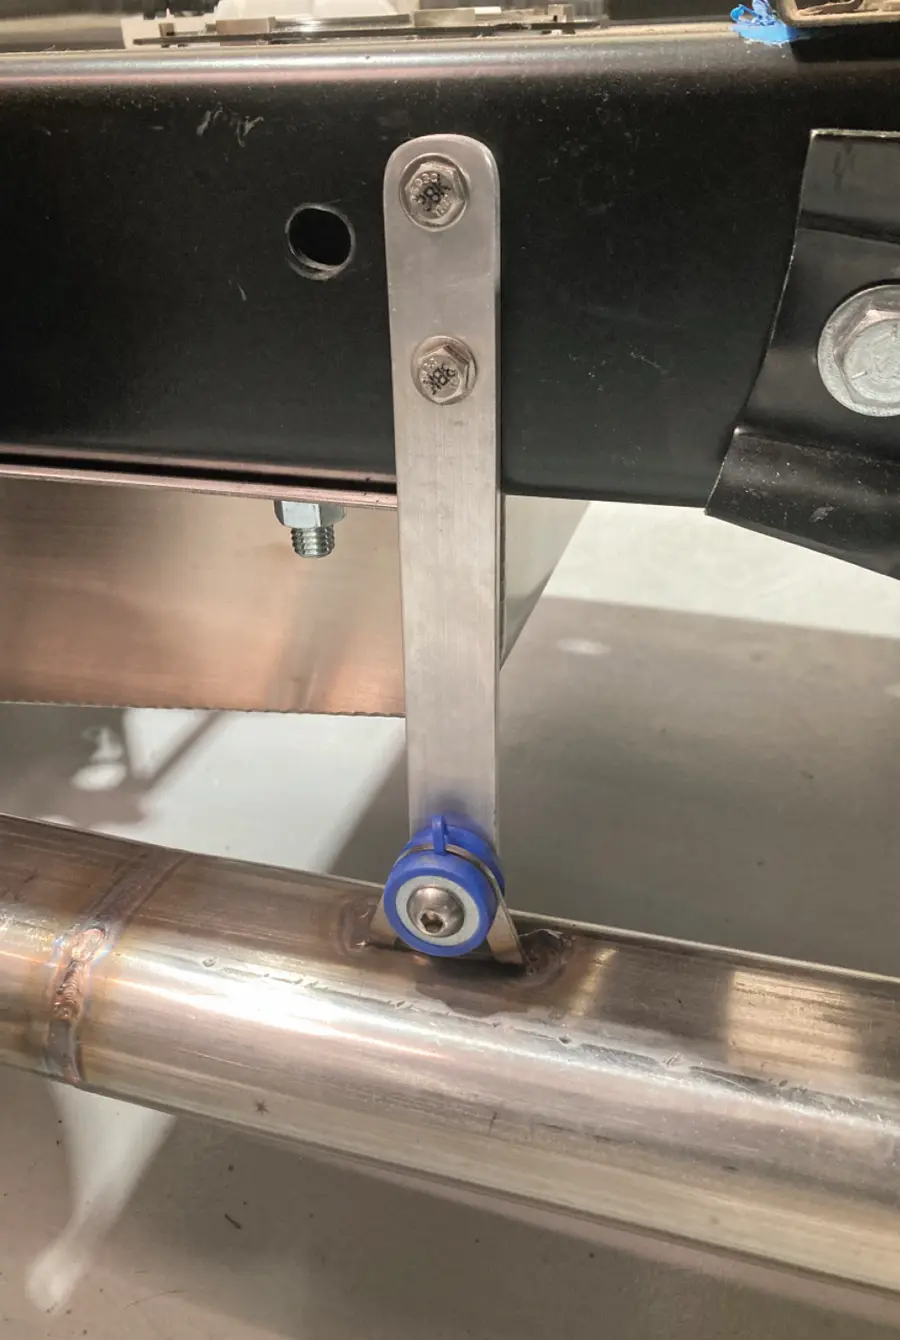
41. Supporting the exhaust system is important and needs to be adequate throughout its entire length. Mufflers are typically the heaviest component, so it makes sense to put a hanger assembly nearby. Here, a mounting bracket has been fabricated from stainless and bolted to a rear crossmember. A stainless steel Weld-On Exhaust Hanger from Summit Racing (PN SUM-610331) mate it to the exhaust and provides just enough freedom so that the exhaust can expand and contract throughout its operating range without dangling freely from the chassis.
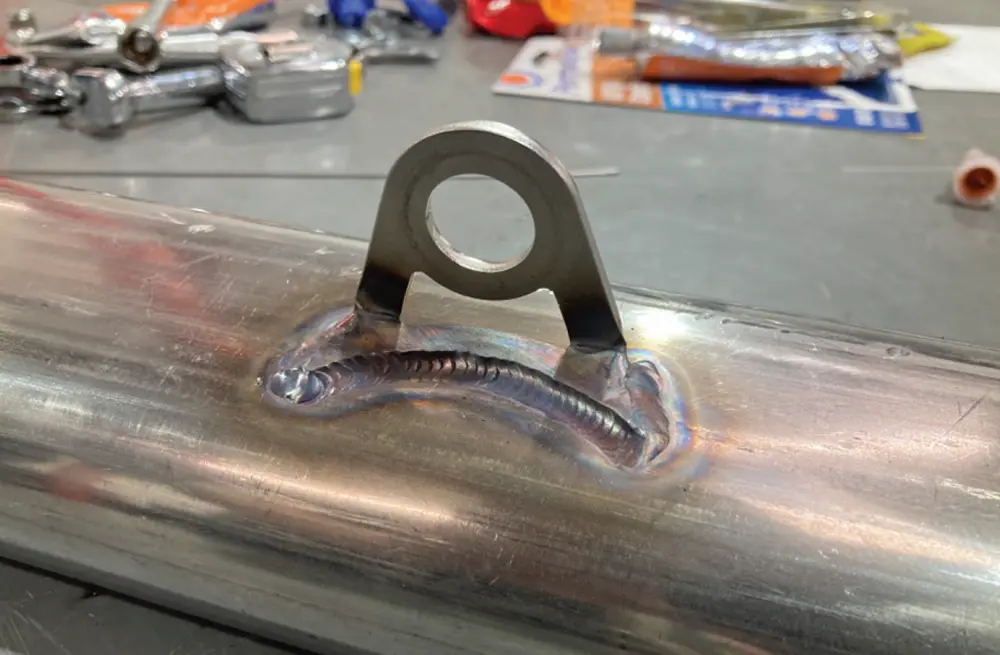
the Weld-On Exhaust Hanger on the bench after welding
42. Out back, another Summit Racing stainless bracket is attached to the final straight section of the exhaust to support everything aft of the mufflers.
wide view of the stainless steel Weld-On Exhaust Hanger from Summit Racing (PN SUM-610331) with the exhaust attached
wide view of the completed oval exhaust installation
43-44. Additional support is important, but the rearmost exhaust hangers also serve to ensure that the exhaust tips are lined up perfectly with the bottom of the bumper and remain so.
 SOURCES